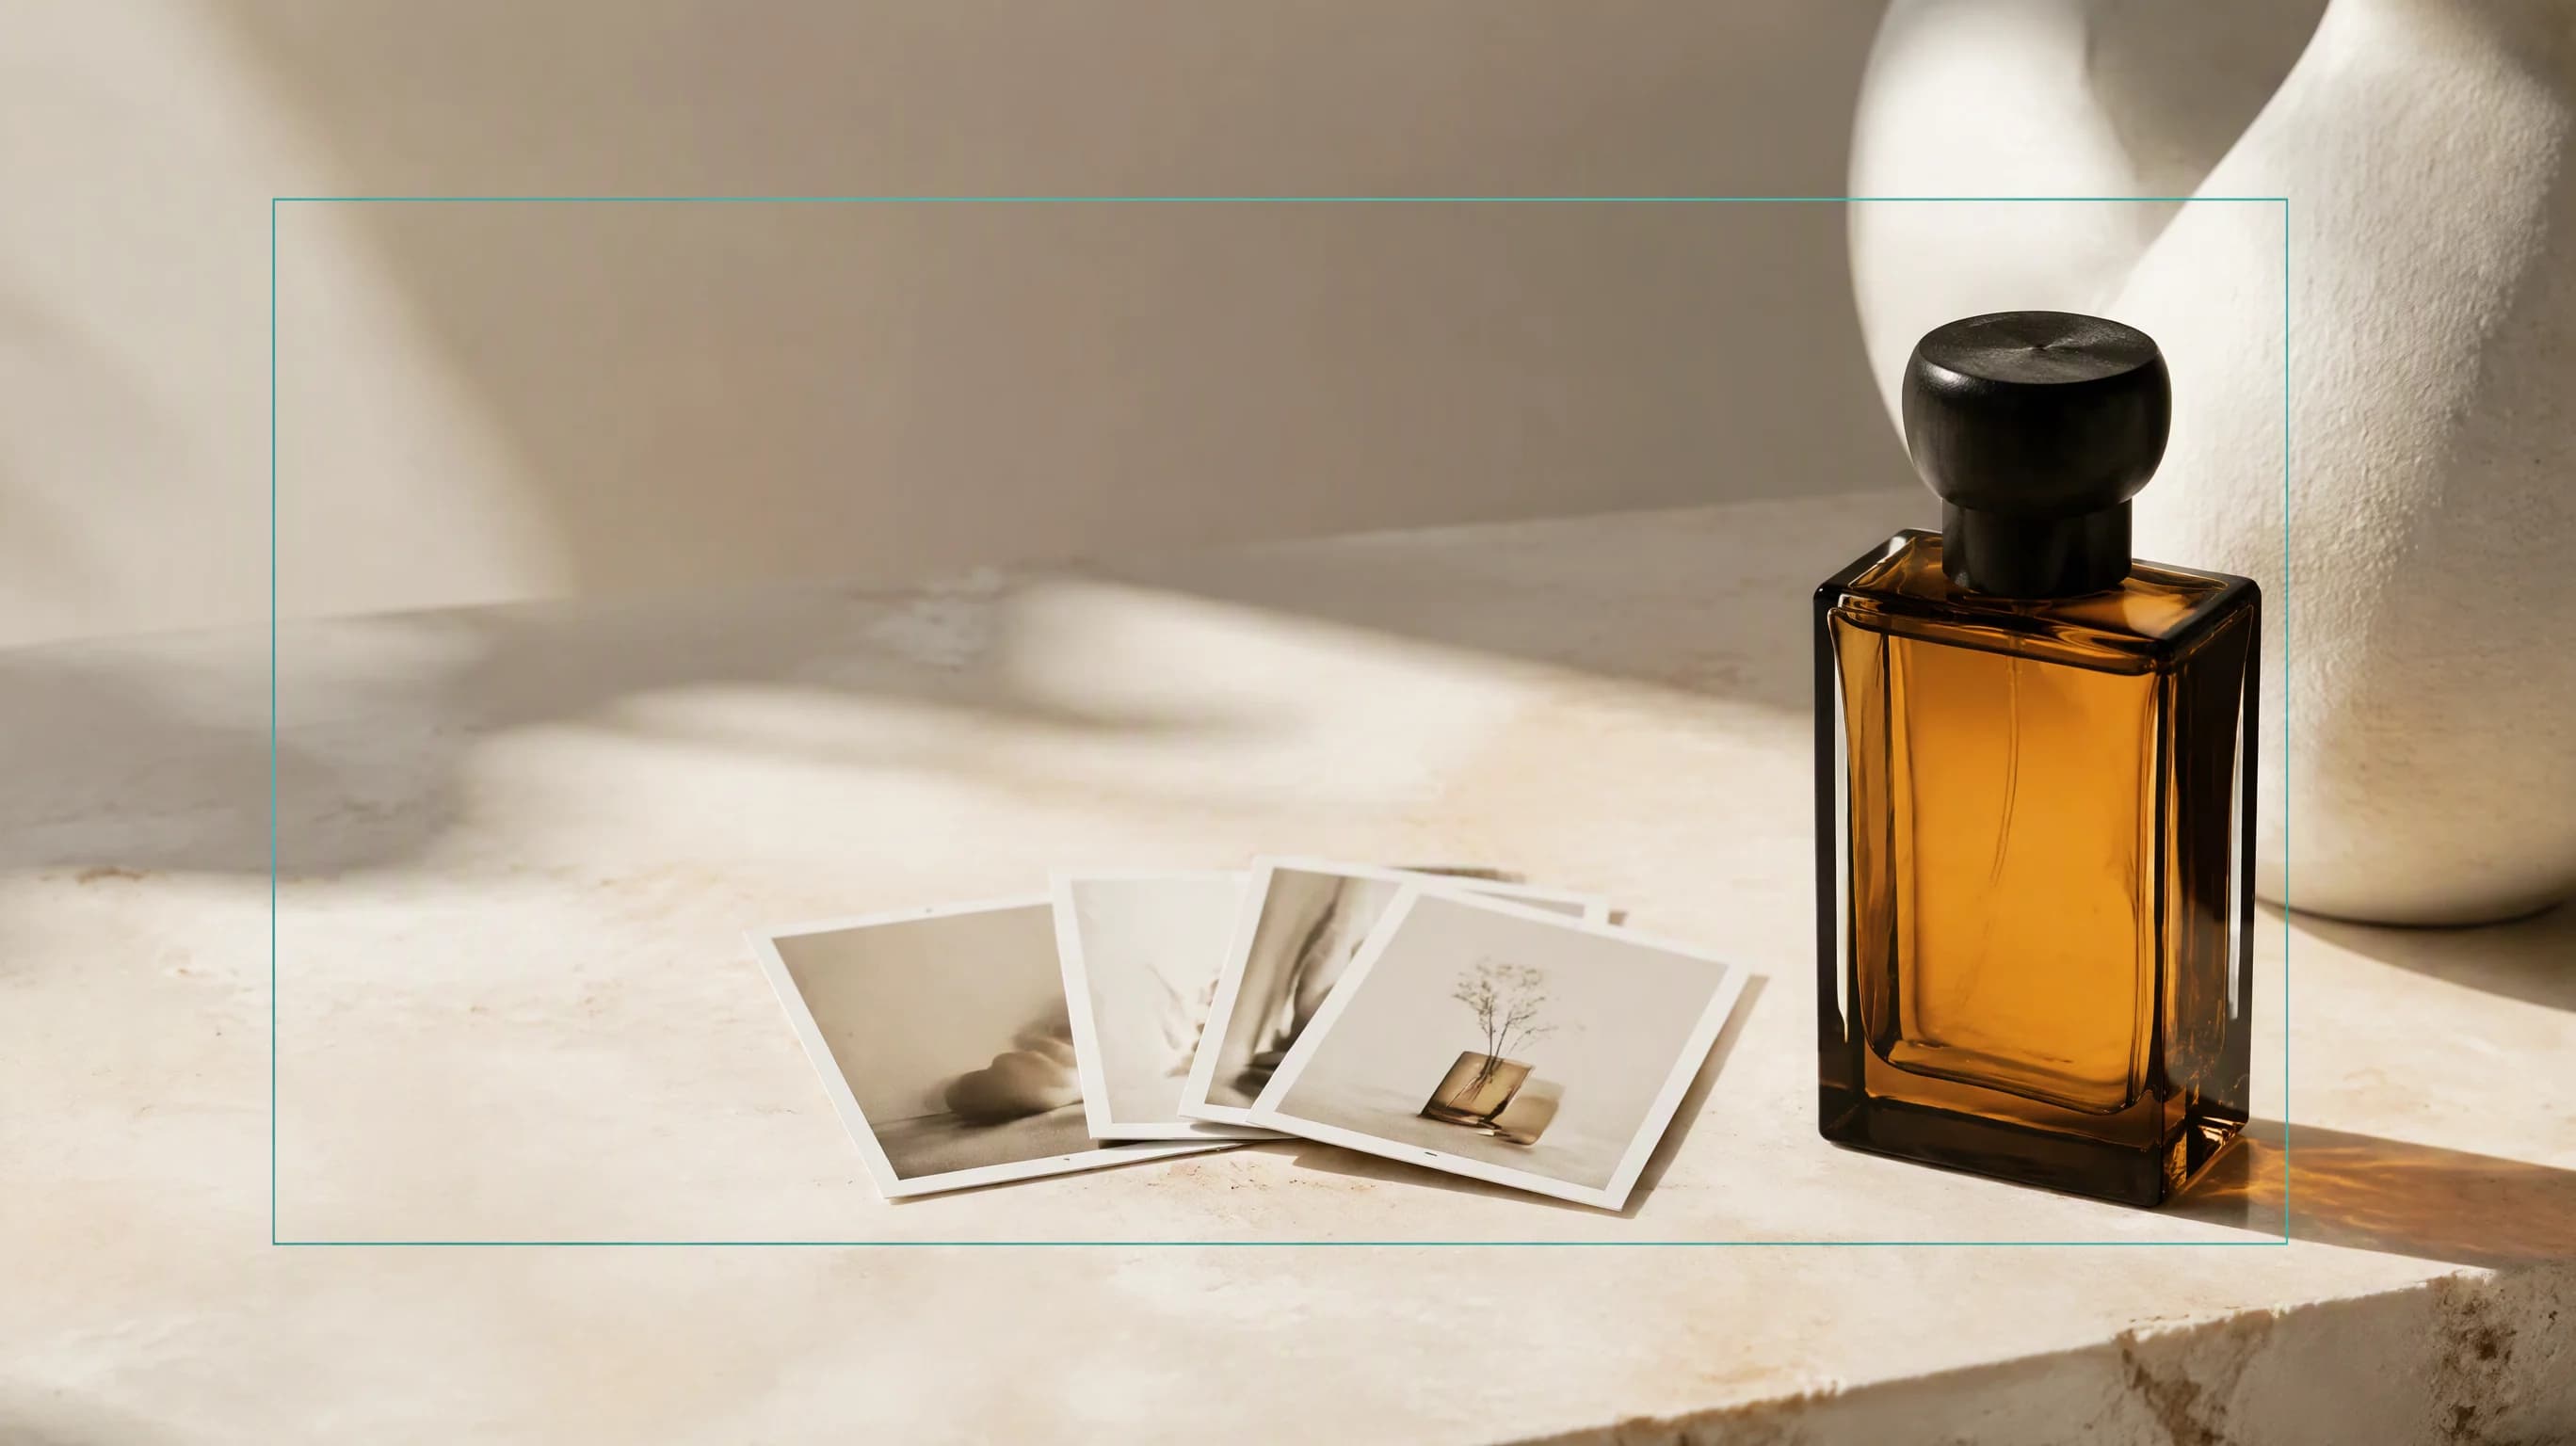
FLUX 3 Image Editing: References and Bounding Boxes
Guide FLUX 3 Image edits with ordered references and bounding-box prompts. Learn coordinate order, layout versus editing tables, and what to inspect afterward.
FLUX 3 Image accepts up to ten reference images, but a useful edit starts with a smaller question: which part of the picture should change? Black Forest Labs documents both instruction-based editing and a layout format that names individual elements, gives them boxes, and separates their original positions from their intended positions.[1][2]
This guide explains how to choose between those approaches, write the box data inside a prompt, and check the result. The examples below are illustrative prompt templates, not reported generation results. Use the FLUX 3 Image model page for the current reAPI controls and pricing, and the API documentation for the request contract.
TL;DR
- Start with one reference and a specific instruction when one object needs a clear change. Manually supplied boxes are optional for ordinary image editing.[1]
- Reference order matters:
ref_image_0means the first image, andref_image_1means the second. Assign each reference a clear role.[2] - Put the caption and the element table together inside
prompt. Bounding boxes are not a separate top-level request parameter.[2] - Coordinates use
[top, left, bottom, right]on a normalized 0–1000 grid. They are not image pixel coordinates.[2] - Treat boxes as placement instructions. BFL says they do not behave as clipping masks, and unchanged pixels still need inspection.[2]
Start a FLUX 3 Image edit with the change you can name
For a single image, write an instruction that identifies the object and the desired result. BFL's editing guide recommends naming the element precisely enough that only one thing matches. The model can expand an instruction and infer boxes for many edits; you do not have to supply a complete element table for every request.[1]
Consider a hypothetical product photograph with a cream mug on a wooden table. An initial prompt could be:
Change the cream ceramic mug beside the closed notebook to a deep teal glaze.
Keep the mug's handle shape, the notebook, the wooden table, the camera angle,
and the soft light from the left unchanged.
This gives the change a recognizable subject and defines the parts you will inspect afterward. If there are two mugs, specify which one. If the handle must remain visible, say so. A general request to “improve the photo” leaves those decisions to the model.
For FLUX 3 Image, our suggested workflow is to attempt the smallest clearly described edit first. Add explicit boxes when the location is ambiguous, several similar objects appear, or the composition itself needs to change. That is an editing strategy, not a claim that one style of prompt always succeeds.
Give each reference one job
FLUX 3 Image supports up to ten references. BFL describes two ways to refer to them: their position, such as “Image 1,” or their indexed identifier, starting with ref_image_0. The first reference also supplies the output aspect ratio when an editing request uses auto.[1][2]
For a room concept, the roles might be:
| Reference | Role in the prompt | What to check in the result |
|---|---|---|
Image 1 / ref_image_0 | The room and camera view | Window positions and room framing |
Image 2 / ref_image_1 | The chair to place near the window | Chair shape, fabric, and orientation |
Image 3 / ref_image_2 | A cushion pattern | Pattern placement on the cushion |
An illustrative instruction is: “Use Image 1 as the room. Place the chair from Image 2 beside the window. Add one cushion using the pattern from Image 3. Keep the camera view and the room's existing furniture unchanged.”
Keep that reference order attached to the task record. Reordering the inputs while keeping the same prompt changes which image supplies each role. There is also little value in filling all ten slots when the brief needs two. The useful limit is how clearly you can explain what each reference contributes.
For a FLUX 3 Image request on reAPI, supply reference URLs in image_urls. The FLUX 3 Image API reference documents accepted URLs and request limits; the prompt identifiers still count from zero.
Put layout data inside the prompt
FLUX 3 Image uses a caption followed by a JSON array of elements. For a new composition, each element has an id, bbox, and desc. Mention the matching id in angle brackets in the caption, then append the table to the same prompt string.[2]
Here is an illustrative square layout with a mug on the left and a notebook on the right:
A quiet overhead product photograph of a teal mug <mug_1> and a closed
cream notebook <notebook_1> on a pale wooden desk <desk_1>.

[
  {"id":"desk_1","bbox":[0,0,1000,1000],"desc":"A pale wooden desk in soft daylight."},
  {"id":"mug_1","bbox":[300,120,760,450],"desc":"One teal ceramic mug with its handle visible."},
  {"id":"notebook_1","bbox":[230,540,820,900],"desc":"A closed cream notebook without lettering."}
]
The numbers describe relative position. [0,0,500,500] is the top-left quarter of the image. Changing the resolution does not turn those values into pixels. Changing the aspect ratio stretches the coordinate grid with the frame, so use the same ratio you designed the layout for.[2]
When you create a request in code, serialize the array and append it to the caption. This avoids manually escaping every quote inside nested JSON. Do not send a separate bbox field merely because the prompt contains box data.
Editing uses source and target boxes
An edit needs more information than a new layout: where the element comes from and where it should end up. The FLUX 3 Image editing format uses from, src_bbox, and tgt_bbox for that purpose.[2]
| Intended operation | from | src_bbox | tgt_bbox |
|---|---|---|---|
| Keep an element in place | A reference id | Its current box | The same box |
| Move or resize an element | A reference id | Its current box | A different box |
| Add, replace, or recolor | null | null | The destination box |
| Remove an element | A reference id | Its current box | null |
For example, a move row for the mug could be:
{
  "id": "mug_1",
  "from": "ref_image_0",
  "src_bbox": [300, 120, 760, 450],
  "tgt_bbox": [300, 200, 760, 530],
  "desc": "The teal ceramic mug with the same shape and visible handle."
}
The accompanying instruction should say that the mug moves right while the notebook and desk remain unchanged. Add keep rows for the elements that must stay put. Those rows use the same source and target coordinates.
For recoloring, BFL's documented pattern is a new row: from: null, src_bbox: null, and a target box describing the desired appearance. For removal, retain the source reference and source box, then set the target box to null. State the removal in the written instruction too. The instruction and table should agree.[2]
These sample coordinates belong to the hypothetical layout above. Measure your own image before reusing them; a valid JSON object can still point at the wrong object.
Choose resolution and grounding for the actual brief
FLUX 3 Image has five resolution tiers: 768sq, 1k, 1.5k, 2k, and 4k. The default is 1k. Its grounding option is enabled by default and permits web and image searches before generation; setting it to false disables that search step.[3]
These controls answer different questions. Resolution selects the output tier. Grounding decides whether the model can look beyond the prompt and supplied inputs for supporting information. For a fictional studio composition, disabling grounding may fit your intended workflow. For a brief involving a real subject or current visual reference, decide whether search is useful and still verify the result.
BFL describes native 2K and 4K generation for FLUX 3 Image, but a larger output is not proof that a small edit preserved a face, label, or texture. Review the region that matters at the delivered size. Use the current FLUX 3 Image pricing before choosing a final tier rather than copying an old rate into your workflow.[4]
Check the unchanged parts as carefully as the edit
The most useful qualification in BFL's box documentation is that boxes guide placement and scale; they do not clip an element to a hard mask. Its removal example says pixels outside edited boxes usually stay identical. That is a reason to compare outputs, not a universal promise of zero drift.[2]
For the mug example, inspect the handle, the edge of the notebook, the desk grain, and the shadow boundary. If several edits are needed, keep the approved source and compare each result against it. An appealing new composition can still fail a brief that required the original notebook to remain unchanged.
A simple review record can contain the input order, prompt, element table, aspect ratio, resolution, and a short accepted/rejected note. For repeated edits, keep the earlier accepted image available. This is a suggested review procedure; this article does not claim a measured retry rate or editing accuracy.
Questions about FLUX 3 Image editing
Can I edit an image without bounding boxes?
Yes. Send a reference and a written instruction. BFL documents direct editing and says the model can infer element boxes for many edits. Supply boxes yourself when you need explicit placement instructions.[1]
How many reference images can I use?
Up to ten. Describe what each image supplies, and retain their order. The first is ref_image_0; in ordinary language it is “Image 1.”[1]
Are bounding boxes measured in pixels?
No. They use normalized integers from 0 to 1000 in [top,left,bottom,right] order. A box covers the corresponding portion of the frame regardless of the output resolution.[2]
Does image-to-image preserve the original aspect ratio?
For an editing request with aspect_ratio: "auto", the first reference supplies the aspect ratio. Choose an explicit ratio if the output needs another shape, and design any layout boxes for that shape.[1]
Is pixel-perfect editing guaranteed outside the box?
Do not assume it. BFL's technical guide qualifies preservation and says boxes are not clipping masks. Compare the returned file against your source wherever unchanged pixels are an acceptance requirement.[2]
Can I download FLUX 3 Image for local use?
BFL advertises a commercial weights license for companies that want to fine-tune and deploy FLUX 3 Image on their own infrastructure. That offer should not be read as proof of a public, freely downloadable open-weight release. Consult BFL for its current licensing terms. Our FLUX 3 Image weights guide separates the commercial offer from a public download.[4]
Review a FLUX 3 Image edit before the next change
For your first FLUX 3 Image edit, choose one change that is easy to judge, name the elements that must remain, and inspect the output before making a second change. A small, reviewable brief gives you a practical way to decide whether the result belongs in the final asset.
References
- Black Forest Labs. FLUX 3 Image Editing. Retrieved October 9, 2026 from docs.bfl.ai/flux_3/flux3_image_layout.
- Black Forest Labs. Bounding boxes with FLUX 3 Image. Retrieved October 9, 2026 from docs.bfl.ai/flux_3/flux3_image_bounding_boxes.
- Black Forest Labs. FLUX 3 Image overview. Retrieved October 9, 2026 from docs.bfl.ai/flux_3/flux3_image_overview.
- Black Forest Labs. FLUX 3 Image. Retrieved October 9, 2026 from bfl.ai/models/flux-3-image.
Author

Categories
More Posts

Atlas Cloud vs Higgsfield: API Platform or Creator Studio?
Atlas Cloud vs Higgsfield vs reAPI for Seedance: compare API access, creator workflows, pricing, model breadth, and which platform fits your team.
Use ChatGPT Without Sounding Like AI: A Human-First Workflow
Use ChatGPT without generic AI prose. Turn a real thesis, evidence, constrained drafting, and careful human editing into publishable writing.
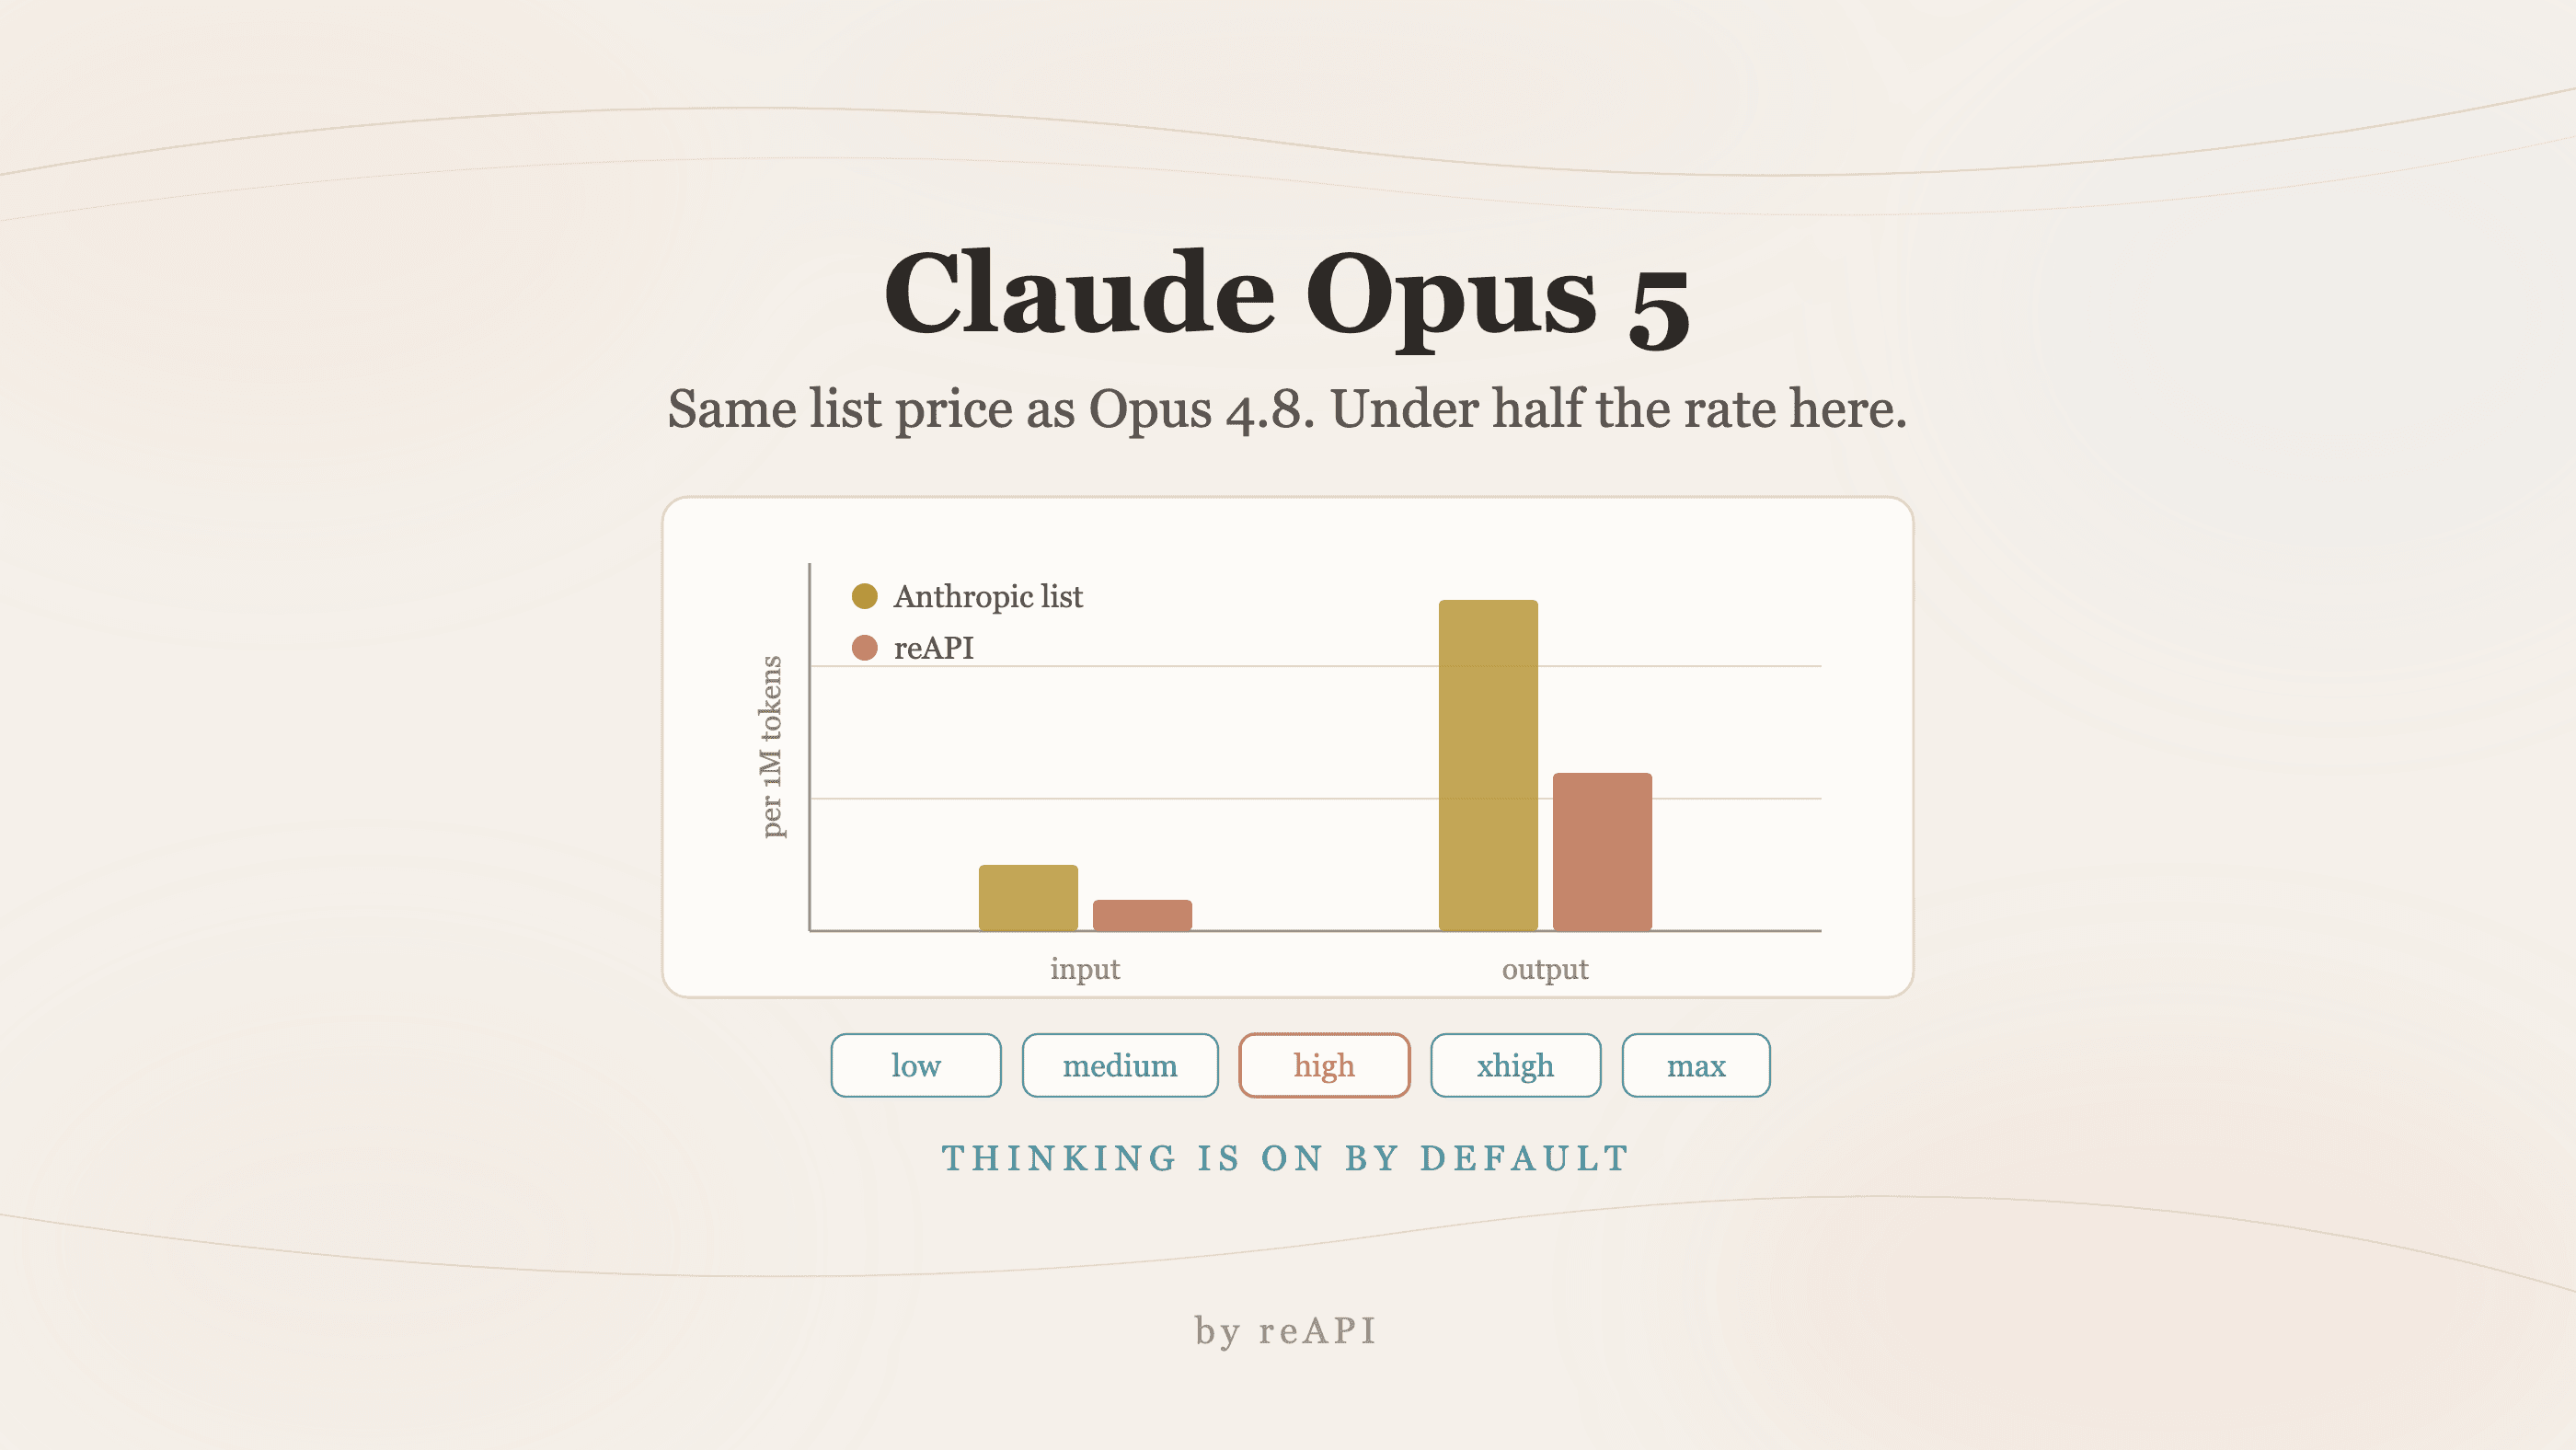
How to Use Claude Opus 5: Benchmarks, Effort, and Cost
How to use Claude Opus 5: the full official benchmark table, the effort ladder that decides your bill, two breaking API changes, and the migration steps.