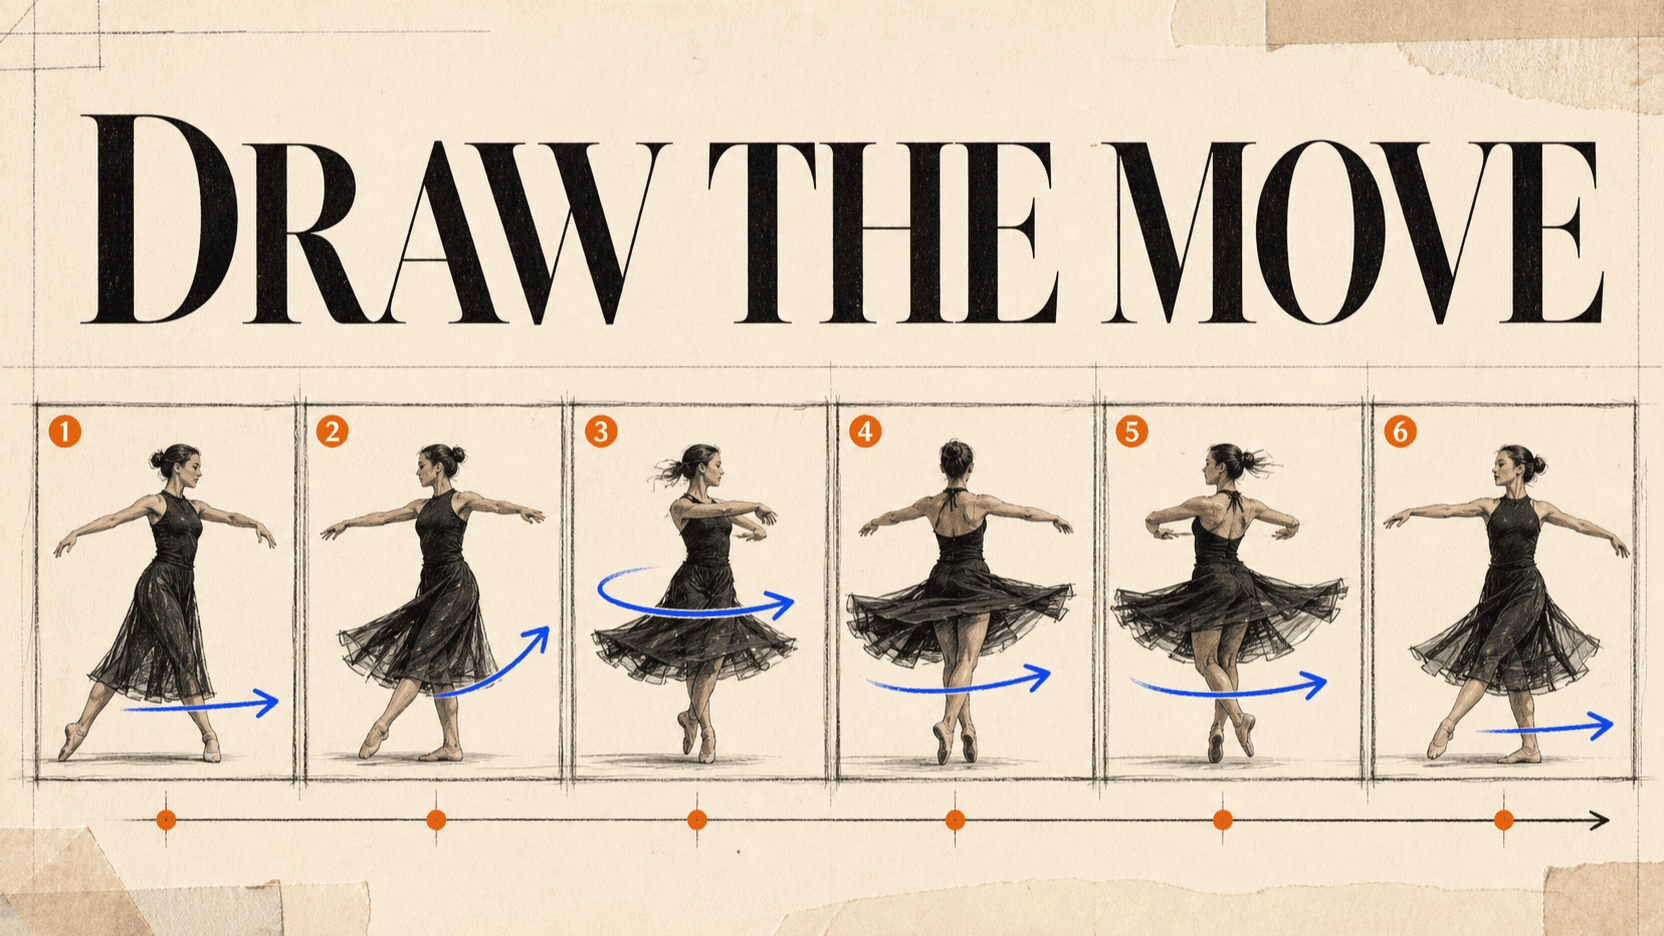
How to Control AI Video Movement with a Storyboard
A beginner tutorial for turning complex motion into ordered storyboard frames, reference roles, prompts, generation tests, and practical review checks.
A storyboard-first AI video workflow controls movement by showing the model a sequence of visible states. Instead of describing an entire dance, action, or product demonstration in one paragraph, you decide what the subject should look like at several key moments. The prompt then explains how to move between those moments.
This is not traditional storyboarding for presentation. It is a control layer for generation. A useful motion board defines pose, direction, contact, framing, and the state that must survive into the next image.
TL;DR
- Write the action as a start state, changes, and an end state.
- Choose six to twelve key moments; do not draw every frame.
- Keep camera, character, environment, and aspect ratio stable across the board.
- Make each panel answer one motion question.
- Reference panels in order and describe the transitions between them.
- Test a short section before rendering the complete sequence.
- Review contact, direction, timing, identity, and end states separately.
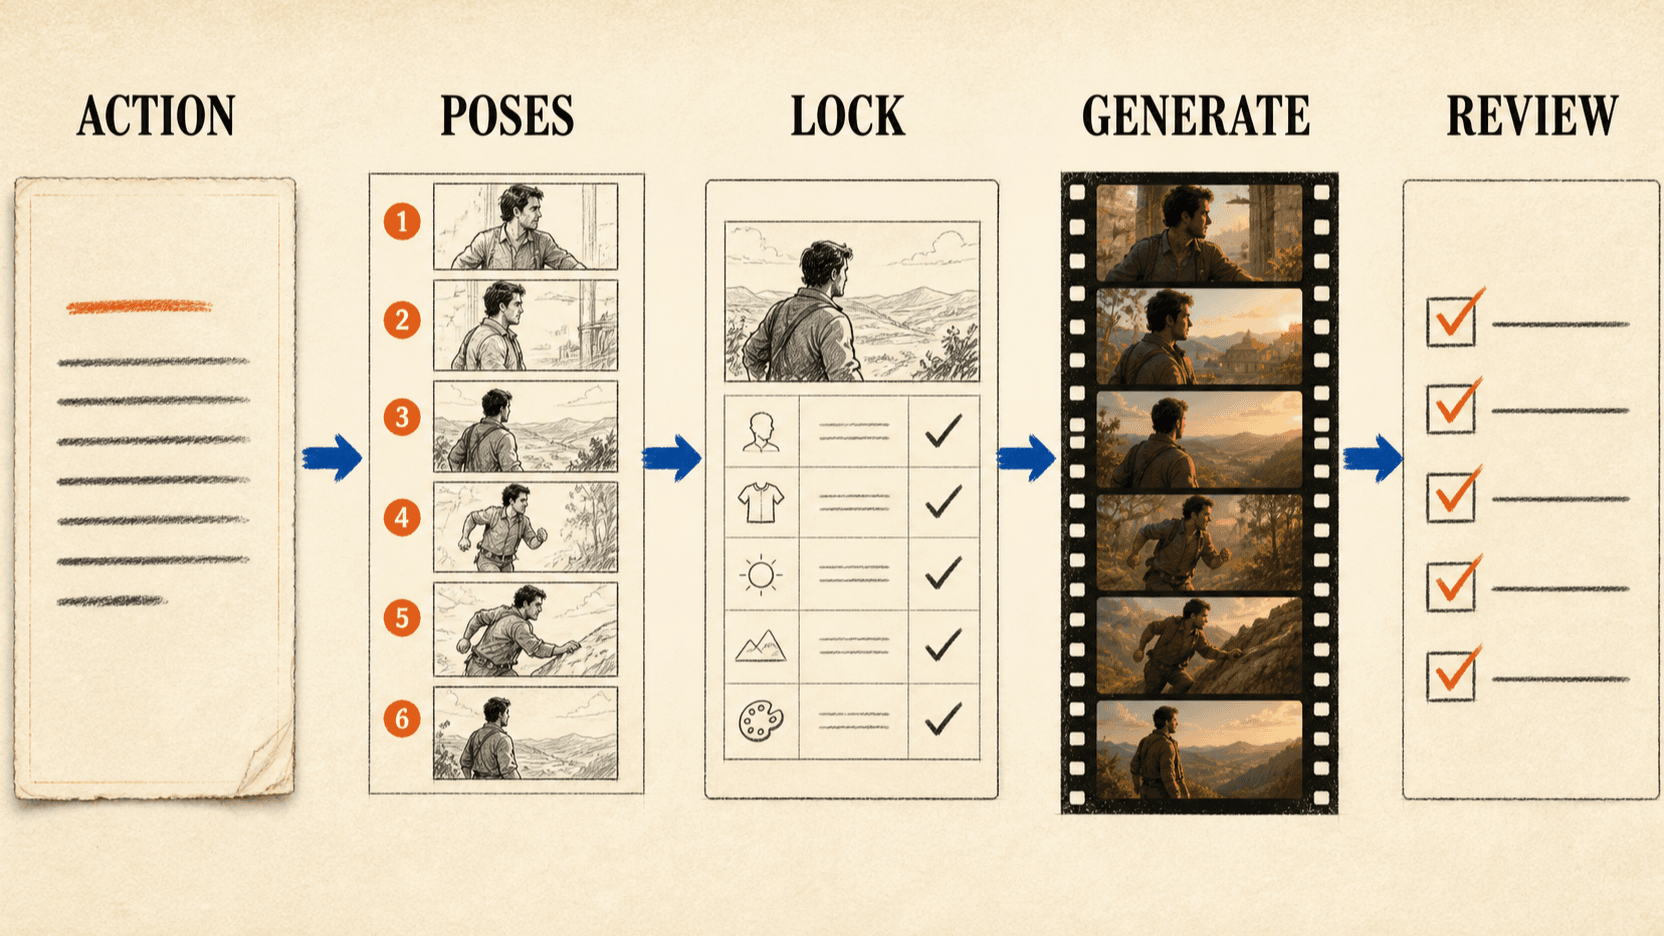
When a storyboard helps more than a longer prompt
A storyboard is most useful when the action has visible intermediate states. Examples include a dancer changing pose, a person picking up and using an object, a vehicle turning through space, a product opening in stages, or a character moving from one side of a set to another.
Text can describe the order, but a visual reference resolves details that are awkward to express repeatedly:
- which arm is raised;
- which foot carries weight;
- where the prop touches the hand;
- which way the body faces;
- how large the subject is in frame;
- what must remain unchanged at the end of the action.
ByteDance documents that Seedance can use text storyboards and multimodal references for composition, motion rhythm, camera language, and visual elements.[1] The storyboard still does not guarantee exact interpolation. It gives the model better evidence than a dense paragraph alone.
Step 1: Write an action sentence with boundaries
Begin with a sentence that names the start and finish.
Weak:
A dancer performs an energetic routine.Useful:
The dancer begins upright with both feet planted, steps left into a low stance,
turns clockwise while the right arm rises, lands facing the camera, then holds
the final pose with both hands visible.
The second version has a start state, direction, three changes, and an end state. Those become storyboard panels.
For object interaction, add contact:
The presenter begins with both hands away from the bottle, reaches with the
right hand, grips the center of the bottle, lifts it without changing its
orientation, places it on the marked circle, releases it, and ends with both
hands visible.
Contact states prevent the object from appearing in the hand or moving before the grip is established.
Step 2: Choose key moments, not equal time intervals
Do not create a panel every two seconds by default. Create a panel whenever the action changes state.
| Panel | Purpose | What must be visible |
|---|---|---|
| 1 | Start anchor | Identity, wardrobe, stance, framing |
| 2 | Preparation | Weight shift or hand approaching object |
| 3 | Contact | Clear grip, foot plant, or body-object relationship |
| 4 | Main motion | Direction and largest pose change |
| 5 | Recovery | Balance, deceleration, object settling |
| 6 | End anchor | Stable pose and edit-ready composition |
Six panels are enough for many short movements. Use more when an interaction has several contacts or reversals. Use fewer when the move is a simple camera push or head turn.
Step 3: Create a continuity sheet before drawing panels
The storyboard should not redesign the subject in every image. Lock these details first:
{
  "character": "same face, body proportions, hairstyle, black jacket",
  "environment": "same rehearsal room, gray floor, blue rear wall",
  "camera": "eye-level, 50mm look, fixed medium-wide framing",
  "screen_direction": "character travels left to right",
  "light": "large soft source from camera left",
  "aspect_ratio": "16:9",
  "prop": "single red bottle, cap remains attached"
}
Generate or draw the start panel first. Use it as the identity and style anchor for the remaining panels. The later images may change pose and position, but they should not change clothing, lens feel, room layout, or light direction.
If you use an image model to create panels, ask for one image at a time. A dense grid can introduce inconsistent faces and tiny unreadable actions. Assemble the approved frames into a board after the individual images are stable.
Step 4: Design each panel as a motion instruction
Every panel needs a short caption. The caption says why the frame exists and what the next transition should preserve.
Panel 1 — Start
Full body visible. Feet shoulder-width apart. Both hands down. Facing camera.

Panel 2 — Load left
Left knee bends. Weight moves to left foot. Right heel lifts. Torso still faces
camera.

Panel 3 — Begin turn
Right foot crosses behind. Torso rotates clockwise. Right arm reaches shoulder
height. Face still visible in three-quarter view.

Panel 4 — Peak turn
Back briefly faces camera. Both feet remain on floor. Jacket and hair follow
the same clockwise motion.

Panel 5 — Landing
Character returns to front. Right foot plants first. Arms decelerate.

Panel 6 — End hold
Facing camera, balanced stance, both hands visible, one-second still hold.
Avoid impossible jumps between adjacent panels. If panel two has the subject standing and panel three shows them on the floor, add the missing descent state. The model must invent whatever the board omits.
Step 5: Choose how the model should use the frames
There are two common approaches.
Ordered reference images
Upload the panels as separate reference images and name them in the prompt. This preserves more detail and lets you state what each image controls.
A single storyboard sheet
Combine the panels into one clearly numbered image. This is easier to manage, but each panel becomes smaller and the model may treat the sheet as a visual style reference rather than a strict sequence.
For beginners, use separate images when the API accepts them. Keep the sheet as a human review artifact.
Step 6: Write transitions, not descriptions of still images
The prompt already has the images. Use the text to explain the movement between them.
Images 1 through 6 are ordered movement states for the same character in the
same room. Preserve identity, clothing, camera position, lens, light direction,
and room geometry throughout.

Move continuously from Image 1 to Image 2 with a leftward weight shift. From
Image 2 to Image 3, begin a clockwise turn led by the right foot and right arm.
Continue through Image 4 without jumping or reversing direction. Decelerate
through Image 5 and land in the exact front-facing state shown in Image 6.

Keep both feet in believable contact with the floor. No extra limbs, duplicated
hands, cuts, camera movement, added people, or background changes. Hold the
Image 6 state for one second.
This prompt assigns three responsibilities:
- the images define visible states;
- the transition text defines direction and continuity;
- the constraints define what must not change.
Step 7: Run a short motion test
Before asking for the full sequence, test the hardest transition. If the turn between panels three and five is the risk, submit those states with a shorter duration.
curl https://reapi.ai/api/v1/videos/generations \
  -H "Authorization: Bearer YOUR_API_KEY" \
  -H "Content-Type: application/json" \
  -d '{
    "model": "doubao-seedance-2.5-face",
    "prompt": "Images 1-6 are ordered movement states. Move through them in order without reversing. Preserve identity, clothing, fixed camera, room geometry, and floor contact. Hold the final state for one second. No cuts or extra people.",
    "image_urls": [
      "https://example.com/panel-01.png",
      "https://example.com/panel-02.png",
      "https://example.com/panel-03.png",
      "https://example.com/panel-04.png",
      "https://example.com/panel-05.png",
      "https://example.com/panel-06.png"
    ],
    "resolution": "720p",
    "size": "16:9",
    "duration": 10,
    "generate_audio": false
  }'
The image_urls field treats the files as references. It is different from
image_with_roles, which is used for explicit first-frame or last-frame
requests. The current API documentation explains which
fields can be combined.
Step 8: Review with a motion scorecard
Do not reduce the result to “good motion.” Review the actual control points.
{
  "order": "pass",
  "screen_direction": "pass",
  "foot_contact": "repair at 4.1s",
  "hand_count": "pass",
  "identity": "pass",
  "camera_lock": "pass",
  "final_state": "repair: right arm does not settle"
}
The first repair should be narrow. Add a missing transition panel, simplify one pose, or clarify a contact. Do not add more adjectives to every line.
Common storyboard failures
The model skips a panel
The adjacent states may be too similar or the sequence may contain too many panels for the available duration. Remove redundant states or give the skipped transition more time.
The character changes between panels
The panel set is inconsistent. Rebuild the affected image from the same anchor, then repeat the fixed continuity sheet in the generation prompt.
The body snaps between poses
Add a preparation or recovery state. Large changes need an intermediate frame that explains balance, contact, and direction.
The camera moves even though the storyboard is fixed
State “locked camera” and keep framing identical across panels. A board with different crops can be interpreted as camera movement.
The motion follows the images but feels rushed
Reduce the number of states or extend the duration. A model cannot create readable pauses when every second contains a new pose.
FAQ
How many storyboard frames should I use?
Use the fewest frames that explain the state changes. Six to twelve often works for a short choreographed sequence, but a simple action may need only three.
Do storyboard frames need to look polished?
No. Pose, direction, contact, and framing matter more than surface detail. Keep the images clear and consistent.
Can I draw the storyboard by hand?
Yes. Hand-drawn boards work when body orientation and object positions are easy to read. Use a separate identity image if the final character must look specific.
Should I include timecodes in the storyboard?
Use time ranges as guidance, not a guarantee. Key moments and transition order are more important than exact frame timing during generation.
Is this the same as first-frame and last-frame generation?
No. First/last-frame generation anchors boundaries. A motion storyboard adds intermediate states so the path between those boundaries is less open-ended.
Conclusion
A storyboard-first AI video workflow replaces prompt length with visible decisions. Break the action at real state changes, keep the reference set consistent, explain transitions, and review the specific contacts and end states that matter. The result is still generative, but the model is no longer guessing the entire choreography from prose.
References
- ByteDance Seed. Seedance 2.0 Official Launch. February 12, 2026. seed.bytedance.com
- ByteDance Seed. One-take Creation, Flexible Referencing: Introducing Seedance 2.5. July 31, 2026. seed.bytedance.com
- reAPI. Seedance 2.5 API — Parameters, Modes & Billing. Retrieved August 27, 2026. reapi.ai
Author

Categories
More Posts
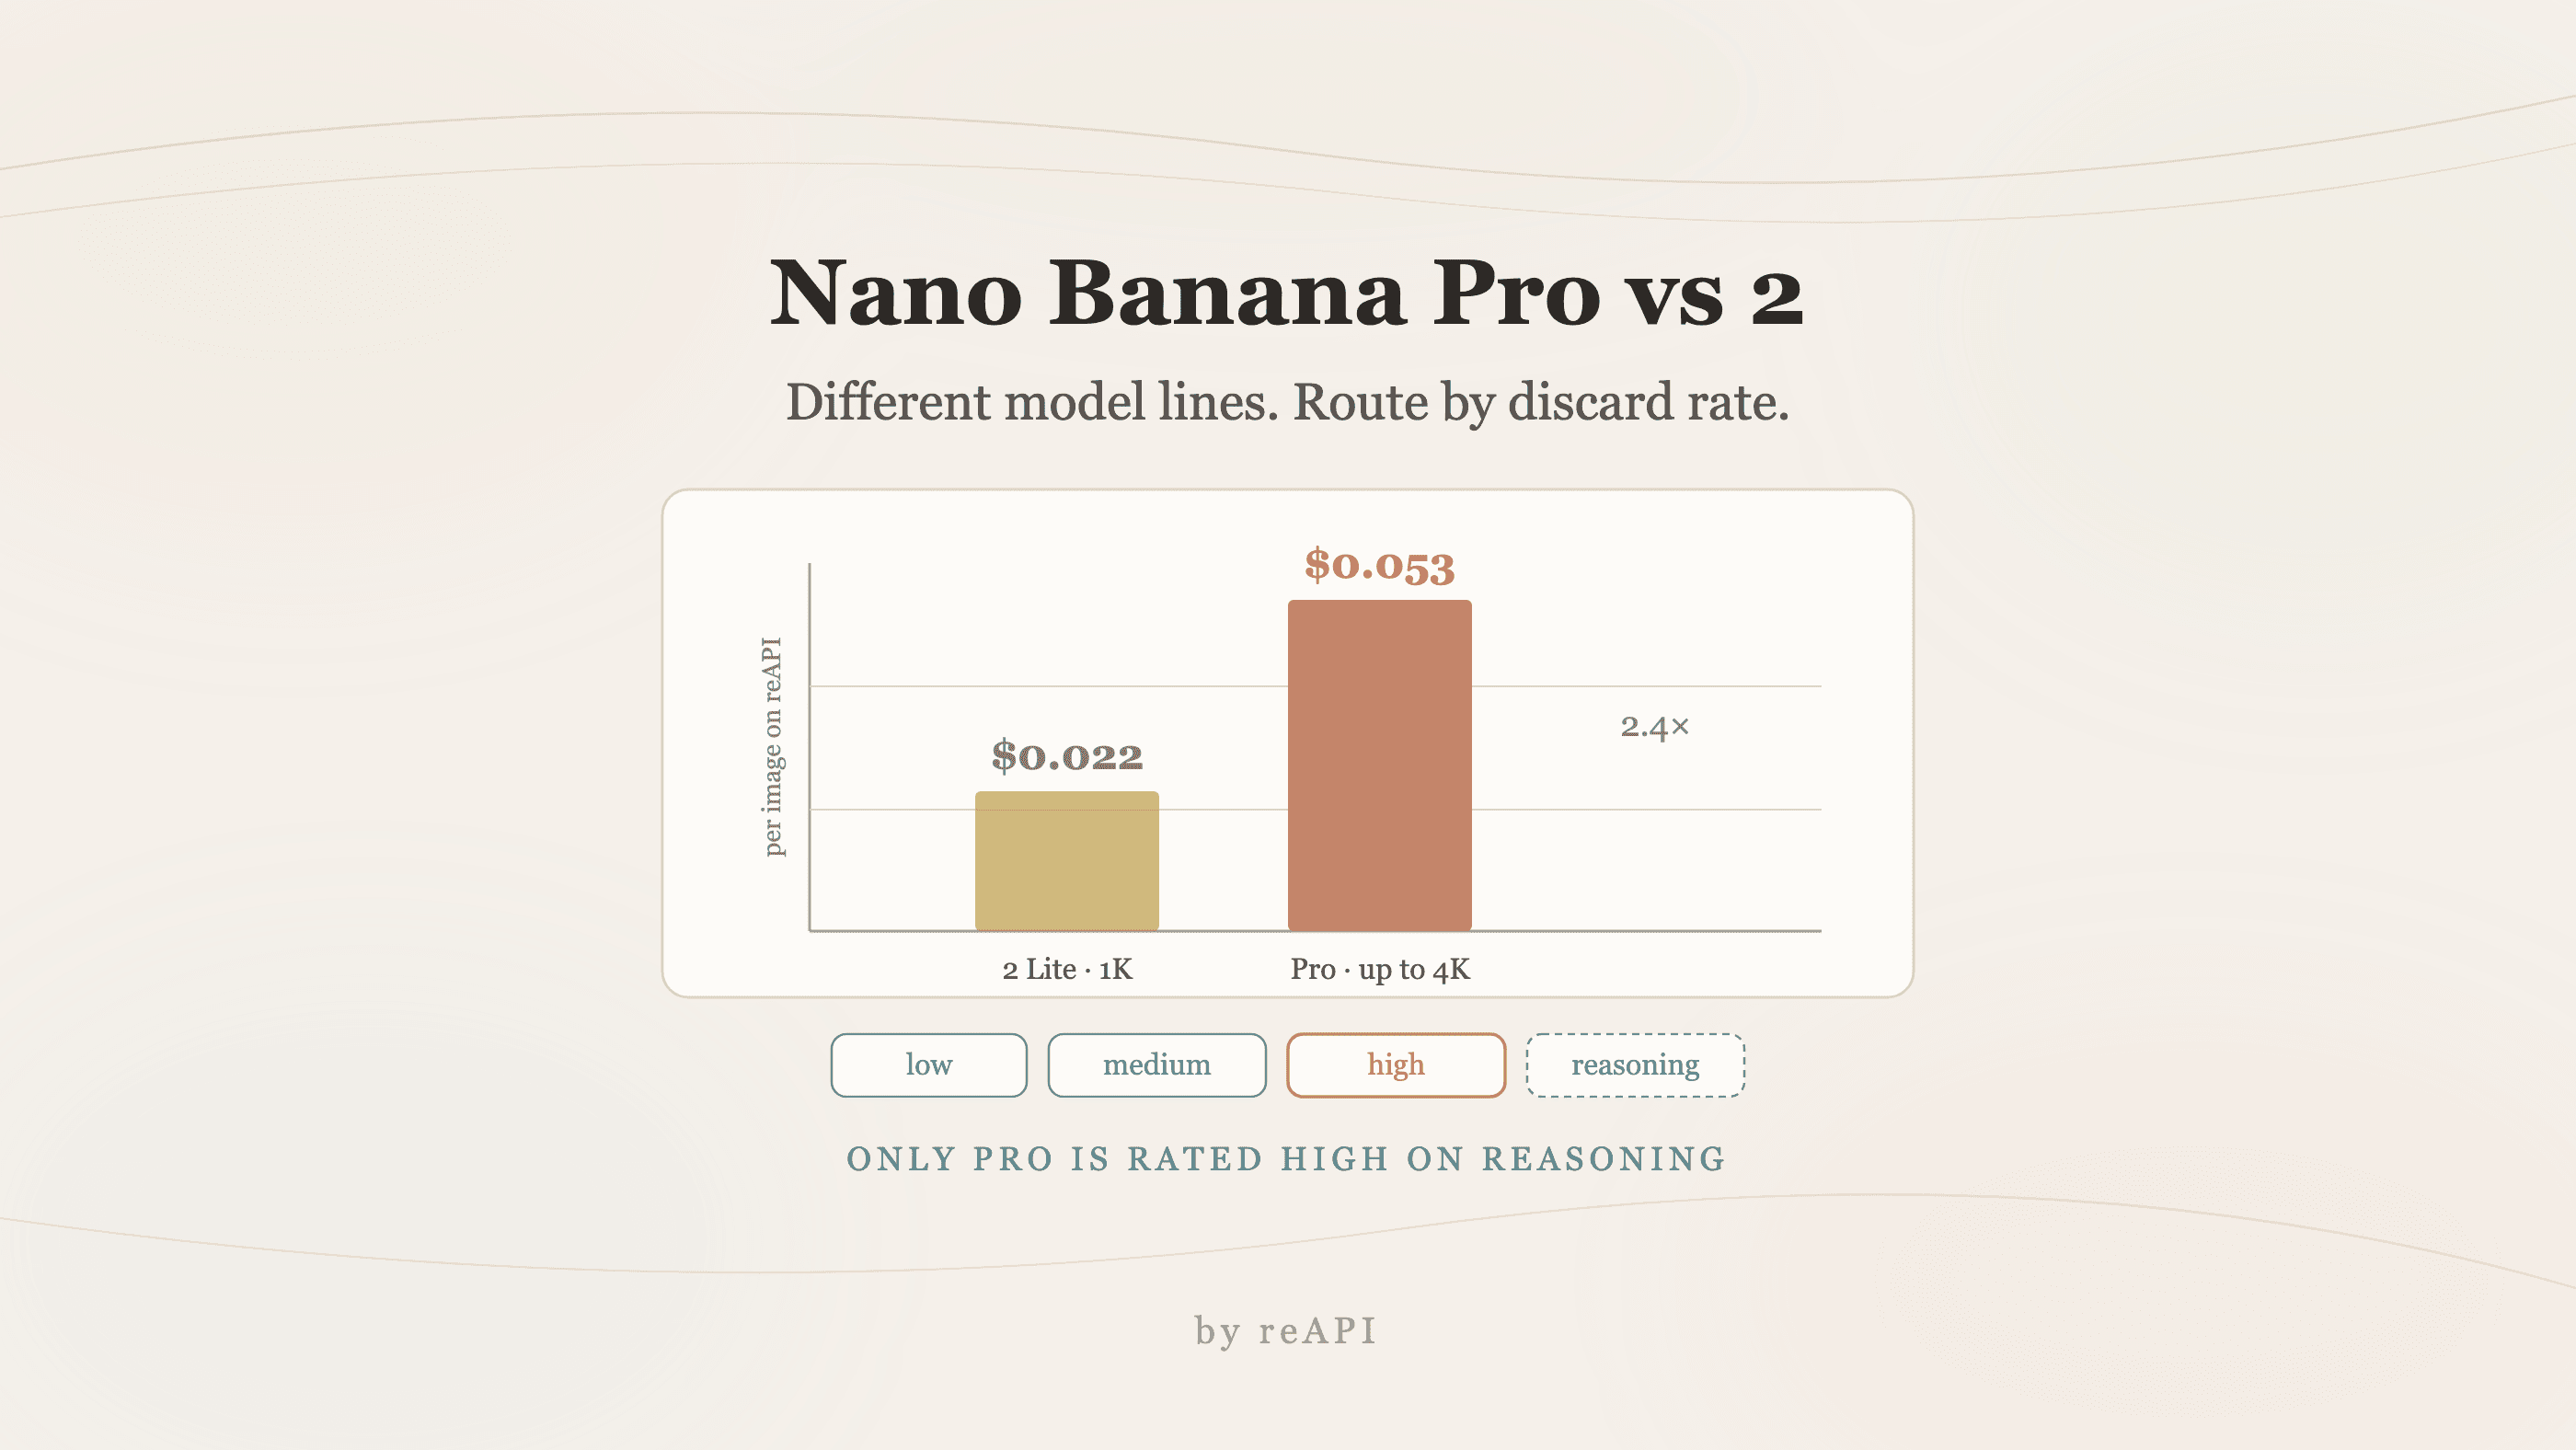
Nano Banana Pro vs Nano Banana 2: Which Tier to Use
Nano Banana Pro vs Nano Banana 2: they run on different model lines, only Pro is rated high on reasoning, and the right routing rule is your discard rate.

Gemini 4 Argon Release Date: Is It Out, and Who Can Use It?
Gemini 4 Argon was announced on September 30, 2026, but only Fairwind Program defenders can use it so far. Who has access, and what Google says comes next.

Best AI Video Generation API in 2026: Five Models Compared
Compare Seedance 2.5, MiniMax H3, Kling 3.0, Veo 3.1, and Vidu Q3 by duration, references, audio, resolution, billing unit, and real workload fit.