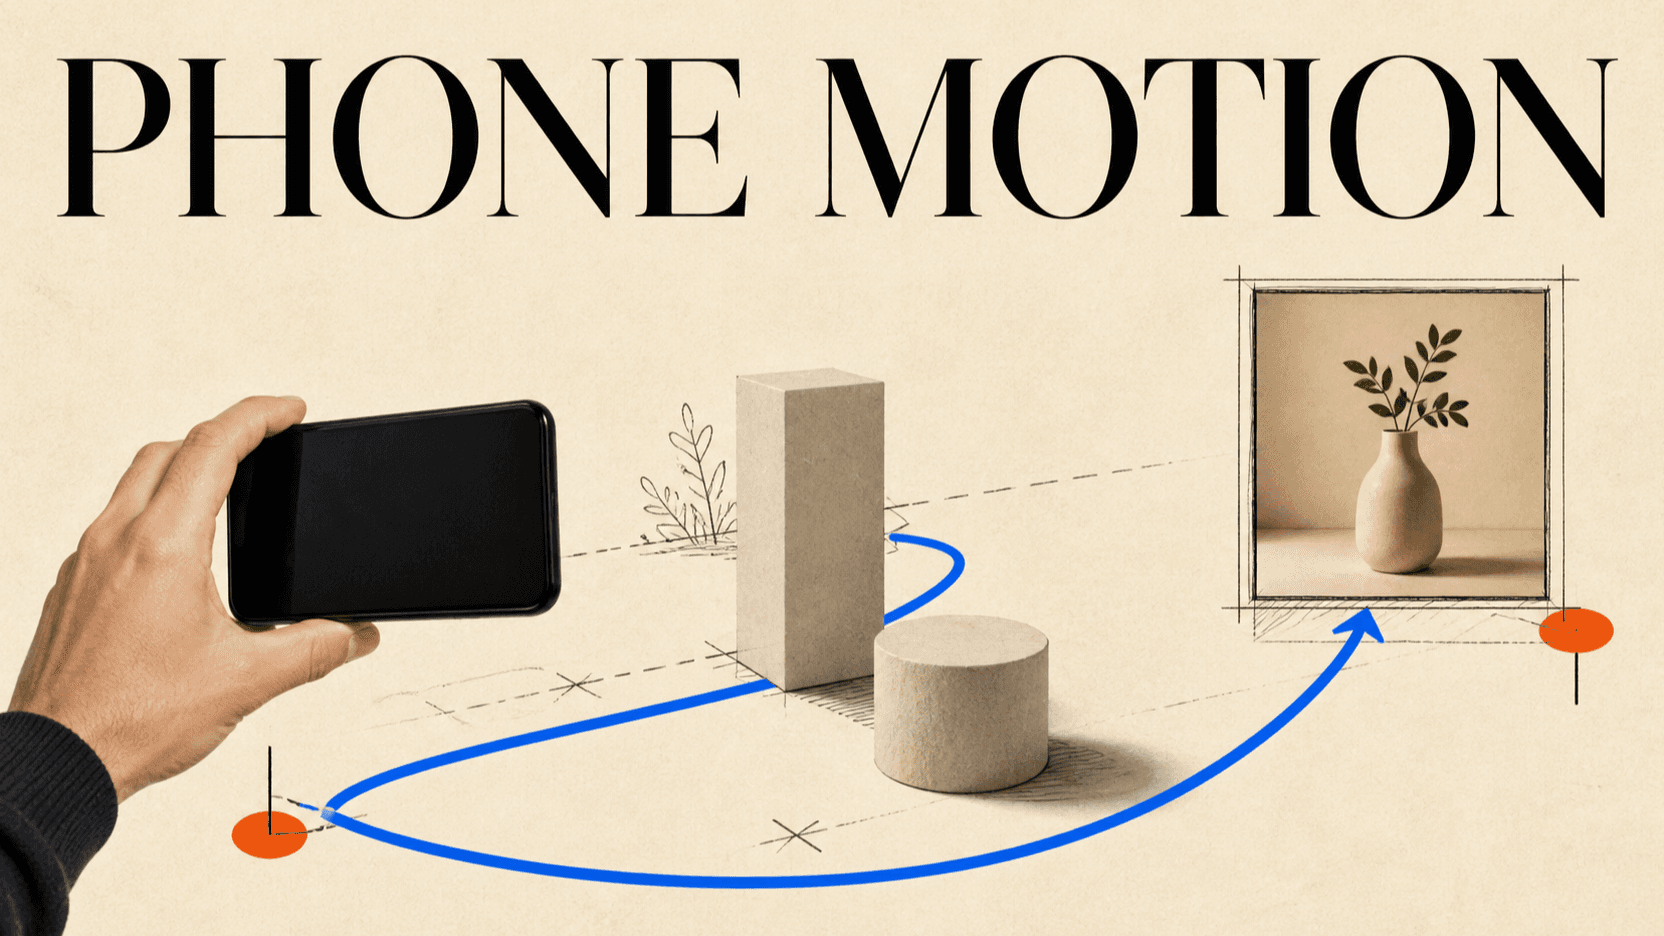
How to Control AI Video Camera Movement with a Phone Reference
Record natural camera movement with a phone, turn it into a clean motion reference, and guide an AI video model without learning 3D animation first.
A phone camera motion reference shows an AI video model how the camera should move instead of asking it to interpret words such as “handheld” or “cinematic.” You record the path, speed, pauses, and small human imperfections first. The video model then uses that clip as motion guidance while the prompt and still references define the final subject and visual style.
You do not need a finished set or a polished reference film. A room, a few boxes, and a person standing in for the subject are enough. This tutorial also covers an optional AR workflow for creators who want to block a virtual scene on an iPhone.
TL;DR
- Decide the start frame, end frame, and one main camera move before recording.
- Use a stand-in or simple objects to show the subject's position and scale.
- Record slowly in a bright, textured space so device tracking and visual features remain clear.
- Trim the reference to one clean move; remove accidental reframing at the beginning and end.
- Tell the model what to copy from the video and what to ignore.
- Review path, speed, framing, parallax, and subject contact separately from visual style.
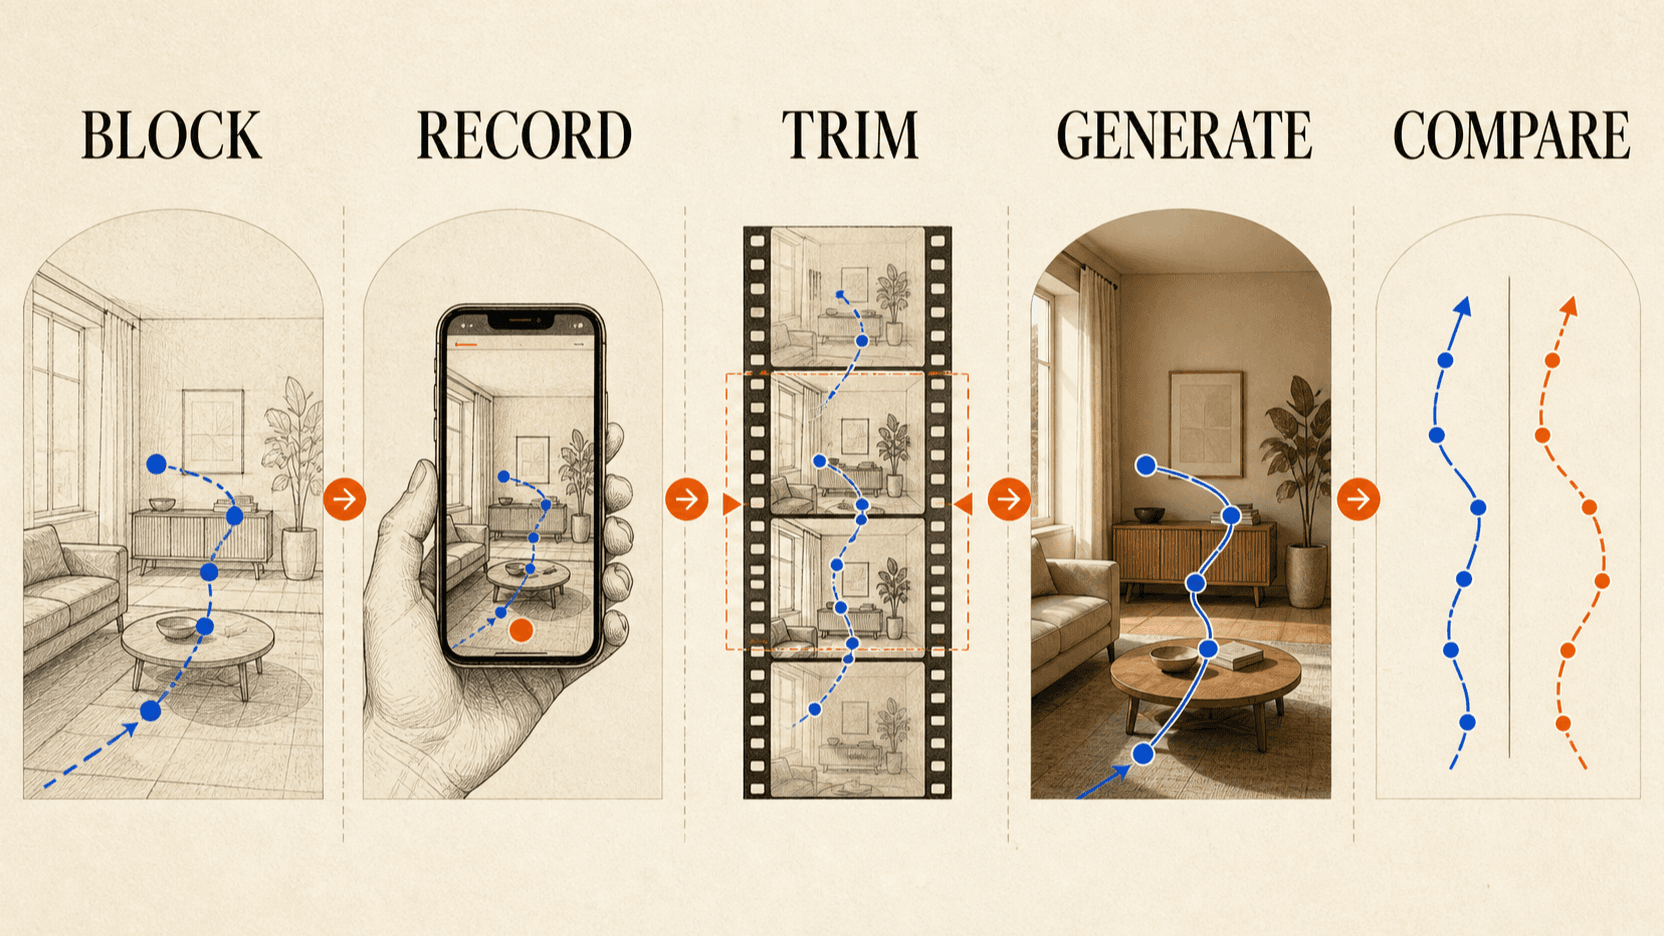
Why a motion reference works better than camera adjectives
Text is useful for naming a shot. It is less precise at describing the full path of a human-operated camera. “Slow handheld push-in” leaves several decisions open: the walking speed, height, lateral drift, moment of deceleration, amount of shake, and where the lens stops.
A reference clip contains those decisions as motion. ByteDance describes Seedance's video references as a way to guide composition, camera language, and movement rhythm.[1] The generated shot is not a frame-for-frame copy, but the model has a concrete trajectory to follow.
Think of the inputs as separate departments:
| Input | Main job |
|---|---|
| Phone reference video | Camera path, speed, pause, shake, spatial rhythm |
| Start or style image | Character, product, wardrobe, palette, lighting |
| Prompt | Scene meaning, action, constraints, what each reference controls |
| Audio reference, when used | Timing, voice, music, or sound character |
The cleaner those roles are, the easier it is to diagnose a failure.
Choose one of two beginner recording methods
Method A: film a physical blockout
This is the fastest route. Place a chair, box, lamp, or friend where the final subject will be. Walk the intended camera move with the phone and record it. The objects do not need to look like the final scene; they only need to preserve position, size, and occlusion.
Use this method for:
- a push toward a product on a table;
- a handheld orbit around a performer;
- a reveal from behind a wall or foreground object;
- a low tracking move beside a moving subject;
- a rack-like reframing from foreground to background.
Method B: record a virtual blockout with AR
An AR tool can place stand-ins in a virtual scene and translate physical phone movement into a recorded camera path. The open-source Film Space project, for example, provides a SwiftUI virtual studio with figure stand-ins, lens presets, scene blocking, camera mode, and recording.[2]
This route takes more setup because you need a compatible Apple development environment and device. Its advantage is that you can rehearse a shot when the physical location or subject does not exist.
ARKit combines camera analysis with motion sensing to estimate device movement. Apple recommends visible scene detail, predictable lighting, and controlled motion; dark spaces, blank surfaces, blur, or very fast movement can reduce tracking quality.[3]
If you are completely new, start with a physical blockout. Move to AR only when you need virtual stand-ins or repeatable spatial marks.
Step 1: Write a camera move card
Do not start walking until the shot has a defined beginning and ending.
{
  "shot": "product reveal",
  "duration": "6 seconds",
  "start_frame": "wide, product hidden behind foreground box",
  "path": "move 1.5 meters right while advancing 0.5 meters",
  "height": "chest height, constant",
  "subject_rule": "product becomes centered at 4 seconds",
  "end_frame": "medium close view, hold for 1 second",
  "shake": "small natural walking drift",
  "avoid": "fast rotation, digital zoom, subject leaving frame"
}
This card prevents a common beginner problem: recording an interesting movement that does not end on an editable frame.
Step 2: Block the subject and foreground
Place a stand-in at the final subject position. Match approximate height and width. If the final scene has a table, doorway, or foreground reveal, include a simple object at the same depth.
Mark three floor positions with removable tape:
- camera start;
- the point where the reveal happens;
- camera stop.
The model needs parallax cues to understand depth. A single person against a blank wall shows less spatial information than a person with foreground, midground, and background objects.
Step 3: Record a clean take
Set the phone to landscape for a 16:9 output or portrait for a 9:16 output. Keep the lens choice fixed during the move. Avoid digital zoom because it mixes lens change with physical movement.
Use this rehearsal sequence:
- Stand still for one second at the start.
- Begin moving gradually instead of jerking into motion.
- Keep the phone at the planned height.
- Look at the subject framing, not your feet.
- Decelerate before the final mark.
- Hold the end frame for one second.
Record three takes. The best reference is usually the simplest, not the most dramatic. If a fast whip-pan or aggressive shake is essential, test it only after a controlled version succeeds.
Step 4: Prepare the reference clip
Trim the clip so it contains the intentional hold, move, and end hold. Remove the moment when you reach for the record button. Mute the audio unless it carries timing information you want the model to use.
Then check:
- Is the subject visible or clearly represented throughout?
- Does the camera stop on the planned composition?
- Is the horizon stable enough for the intended style?
- Are there accidental people, screens, or private details in frame?
- Is the file available through a public HTTPS URL for the API request?
Do not upload private or identifiable material unless you have the right to use it. A blockout with objects is often safer than recording an unrelated person.
Step 5: Write a reference-role prompt
The prompt should say what the model may borrow from each input.
Video 1 is camera-motion guidance only. Follow its camera path, speed,
foreground reveal, and one-second ending hold. Ignore its room appearance,
objects, colors, and lighting.

Image 1 defines the product shape, label layout, and color. Preserve the product
throughout. The final scene is a warm studio table with a dark blue background.

The camera begins wide behind a soft foreground shape, moves right and slightly
forward, reveals the product at 4 seconds, then holds on a centered medium close
view. No added text, logos, hands, or extra products. No digital zoom.
The phrase “camera-motion guidance only” matters. Without it, the model may borrow the blockout's lighting, room, or stand-in appearance.
Step 6: Send the reference to the video model
Seedance 2.5 on reAPI accepts public video references. Keep the first test short and use 720p until the motion is approved.
curl https://reapi.ai/api/v1/videos/generations \
  -H "Authorization: Bearer YOUR_API_KEY" \
  -H "Content-Type: application/json" \
  -d '{
    "model": "doubao-seedance-2.5-face",
    "prompt": "Video 1 is camera-motion guidance only. Follow its path, speed, foreground reveal, and ending hold. Ignore its room and objects. Image 1 defines the product. Warm studio table, dark blue background. Preserve product geometry. No added text or logos.",
    "video_urls": ["https://example.com/phone-camera-reference.mp4"],
    "image_urls": ["https://example.com/product-reference.png"],
    "resolution": "720p",
    "size": "16:9",
    "duration": 6,
    "generate_audio": false
  }'
The current reAPI route permits multiple image and video references, with file, duration, and total-input limits documented on the Seedance 2.5 API page. Check that page before building upload validation, because limits and pricing are time-sensitive.
Step 7: Review motion before appearance
Compare the generated clip with the reference side by side. Ignore color and fine texture during the first pass.
| Check | Question |
|---|---|
| Path | Did the camera travel in the same general direction and depth? |
| Speed | Did it accelerate, cruise, and stop at the intended moments? |
| Framing | Did the subject remain in the planned area of the frame? |
| Parallax | Did foreground and background separate naturally? |
| Horizon | Is tilt intentional rather than accidental? |
| End frame | Is there a clean hold that can accept a cut or title? |
If the motion is wrong, simplify the reference or state the copied attributes more explicitly. If the motion is right but the product drifts, keep the motion reference and strengthen the product anchor. Do not solve both problems by recording a completely different move.
Troubleshooting
The generated shot copies the blockout room
State that the video is motion guidance only, describe the replacement environment, and provide a strong style or start image. A visually busy blockout can also overpower the new scene, so use plain objects and neutral lighting.
The motion is too fast
Record a slower take with a longer start and end hold. Speed instructions in text can help, but a slower reference carries clearer timing.
The camera path works but the subject slides
Improve depth cues in the blockout and add a clear subject stand-in. State whether the subject is stationary, walking, or attached to the camera move.
The output looks shaky
Separate deliberate handheld drift from accidental vibration. Walk heel-to-toe, keep elbows relaxed, and remove sudden wrist corrections. If you want stronger shake, add it after the basic path works.
AR tracking jumps
Move into brighter light, include textured surfaces, slow down, and avoid pointing the camera at a blank wall. Those conditions align with Apple's world tracking guidance.[3]
FAQ
Can I record an ordinary phone video as the reference?
Yes. A physical blockout is often enough. Keep the spatial layout simple and tell the model to copy motion rather than the room or objects.
Do I need an iPhone?
No for ordinary reference recording. The optional AR workflow described here uses ARKit and therefore an Apple device, but a normal camera reference can be recorded on other phones.
Should the reference contain the real actor or product?
Not necessarily. Stand-ins reduce privacy and licensing concerns. Use separate identity images for the final subject when the model supports them.
Does the generated camera path match exactly?
No. Treat the reference as strong guidance, not deterministic motion capture. Review the result and expect some variation.
Is phone reference better than Blender?
Phone recording is faster for natural handheld movement. Blender is better for repeatable paths, impossible moves, exact spatial blocking, and team review. The Blender camera previz tutorial covers that route.
Conclusion
A phone camera motion reference gives an AI video workflow something prompt language cannot fully express: a performed path with real timing and human movement. Keep the blockout simple, define what the model should copy, and judge motion before visual polish. Once the path works, reuse the same reference with different subjects and styles instead of rediscovering the move in every prompt.
References
- ByteDance Seed. Seedance 2.0 Official Launch. February 12, 2026. seed.bytedance.com
- Max Prokopp. Film Space: SwiftUI virtual film studio with AR camera and scene recording. Retrieved August 27, 2026. GitHub
- Apple Developer Documentation. Understanding World Tracking. Retrieved August 27, 2026. developer.apple.com
- reAPI. Seedance 2.5 API — Parameters, Modes & Billing. Retrieved August 27, 2026. reapi.ai
Author

Categories
More Posts
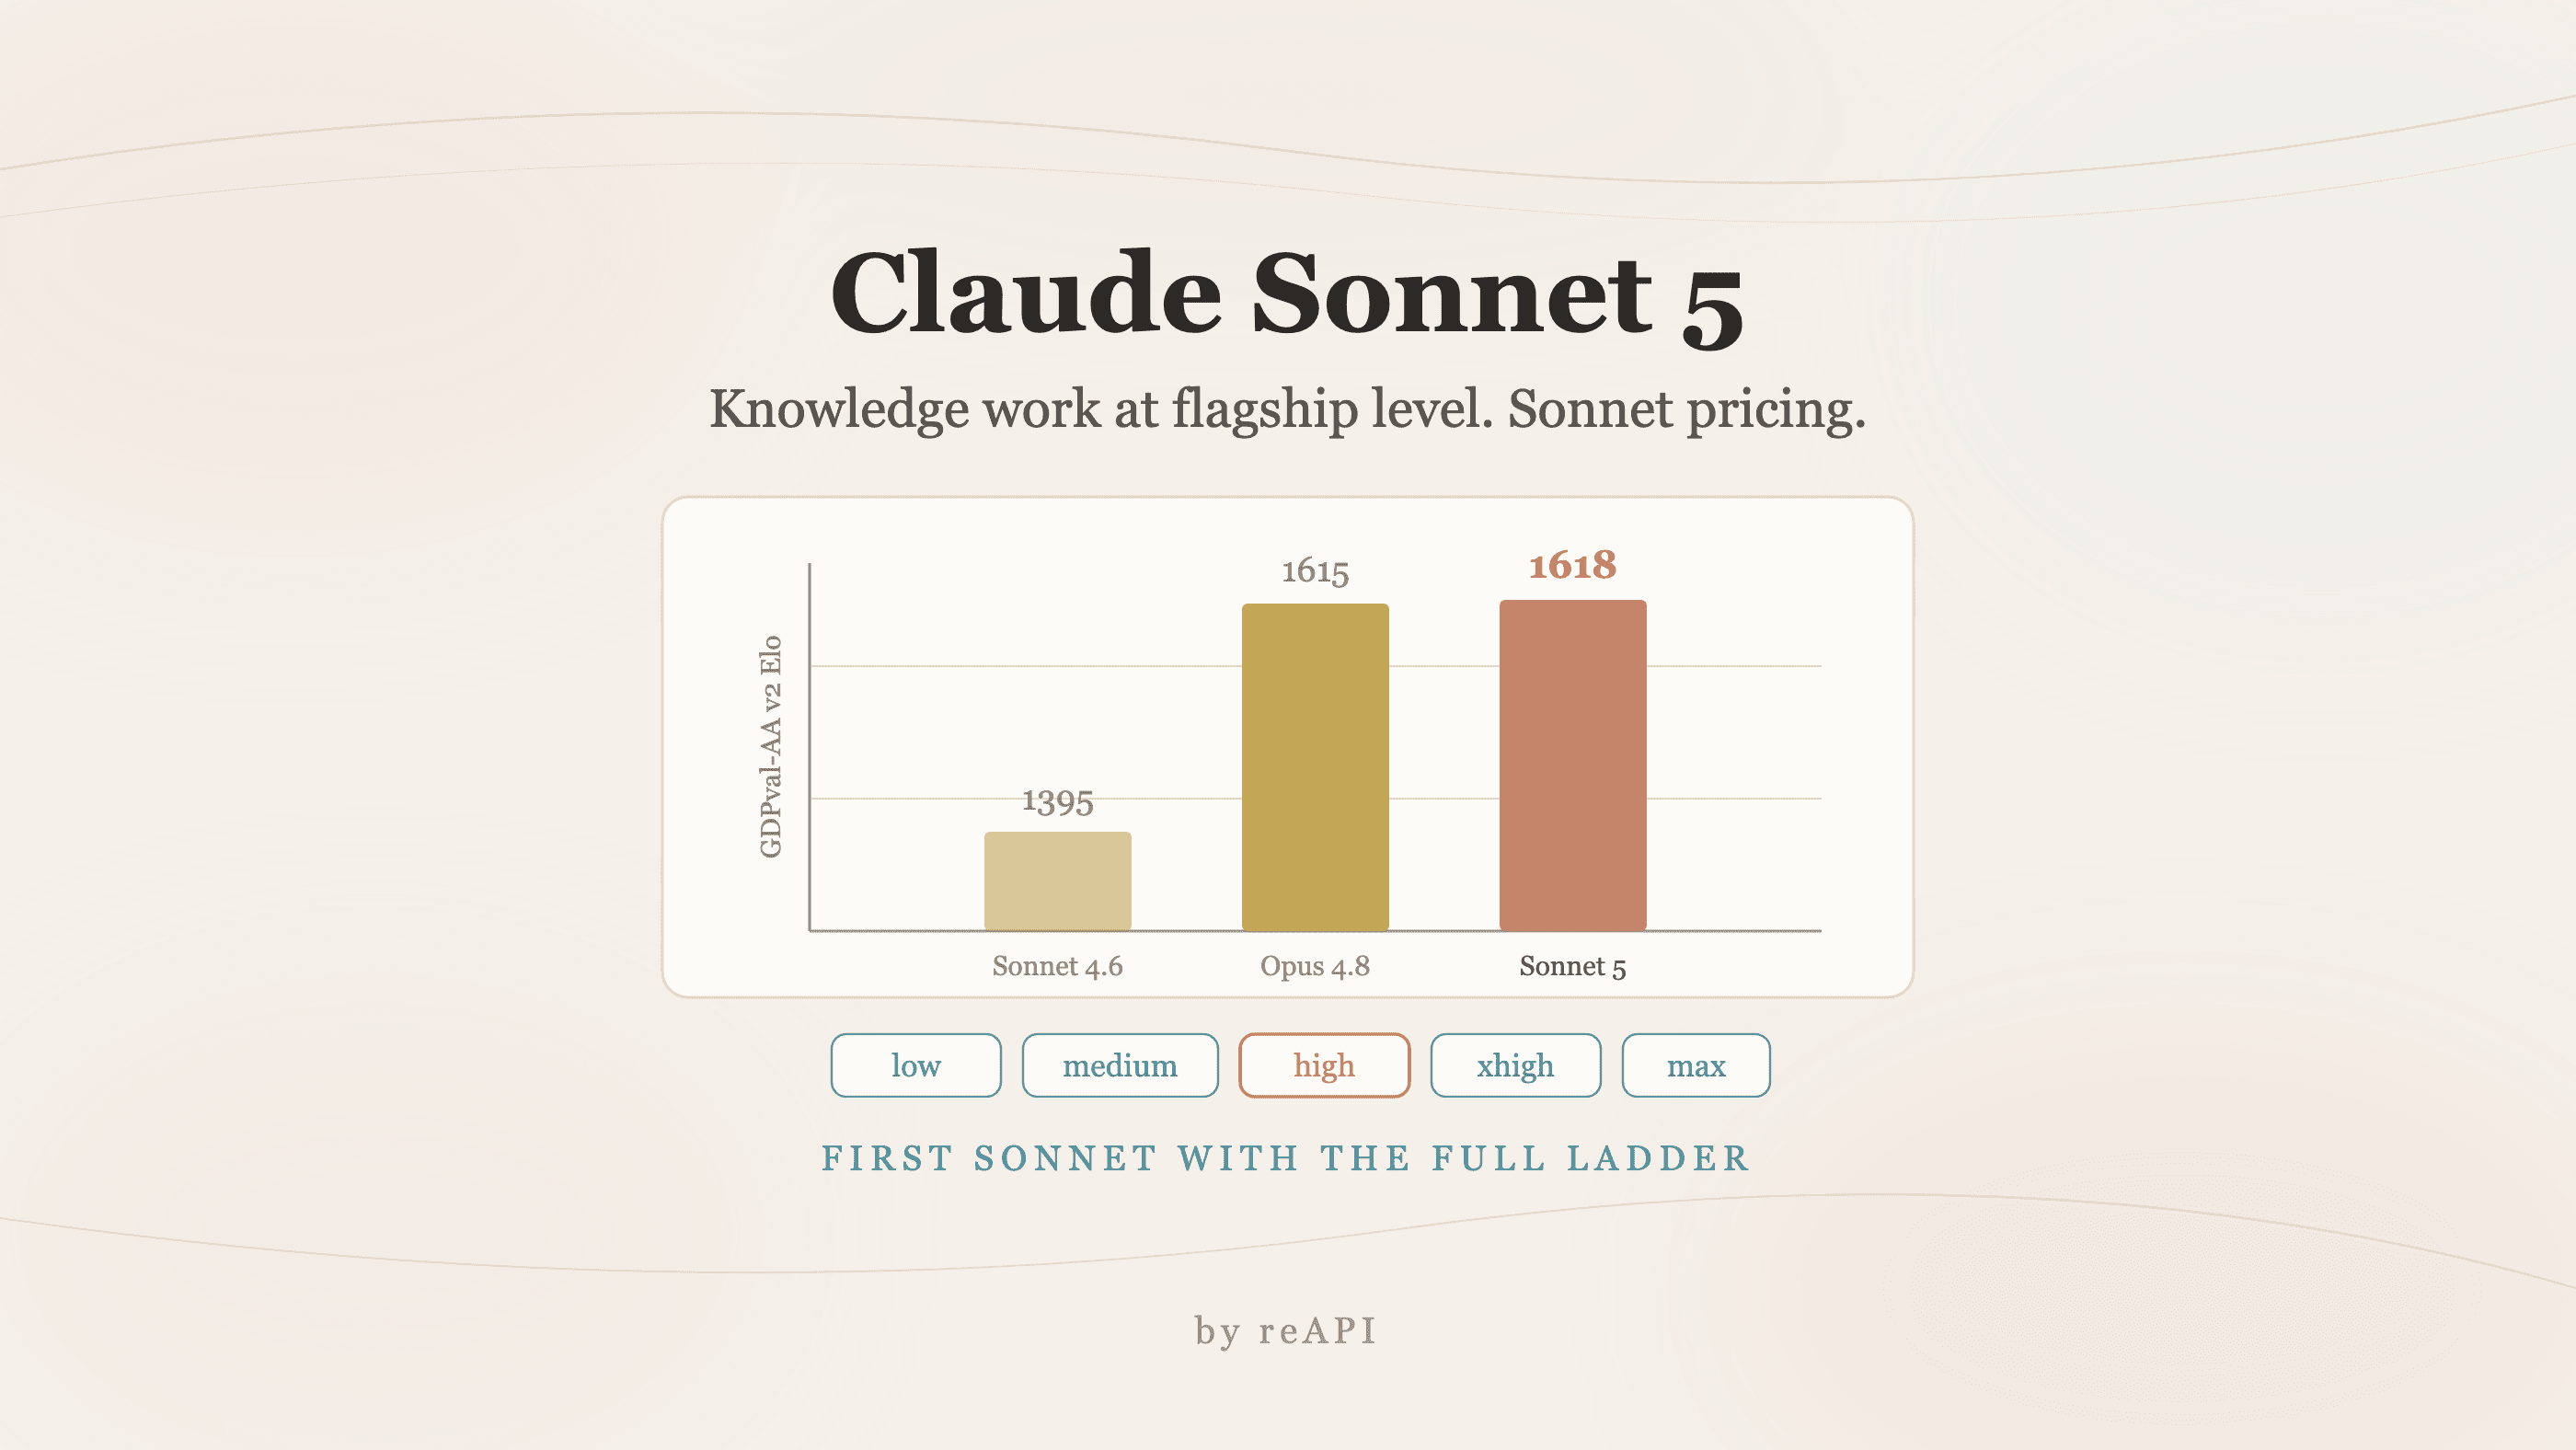
How to Use Claude Sonnet 5: Effort, Cost, and Limits
How to use Claude Sonnet 5: benchmarks against Opus 4.8, the effort ladder that drives cost, the denser tokenizer that inflates bills, and migration steps.
Kling 4.0 Release Date: October Launch, Flash Out Now
The Kling 4.0 release date is October 2026, with Kling 4.0 Flash in early access since September 28. Official specs vs the leak, and when the API arrives.
How to Use Codex to Generate Slide Decks From Research
How to use Codex to generate slides: the seven-step workflow, the outline checkpoint that decides deck quality, prompts that pin exact claims, and its limits.