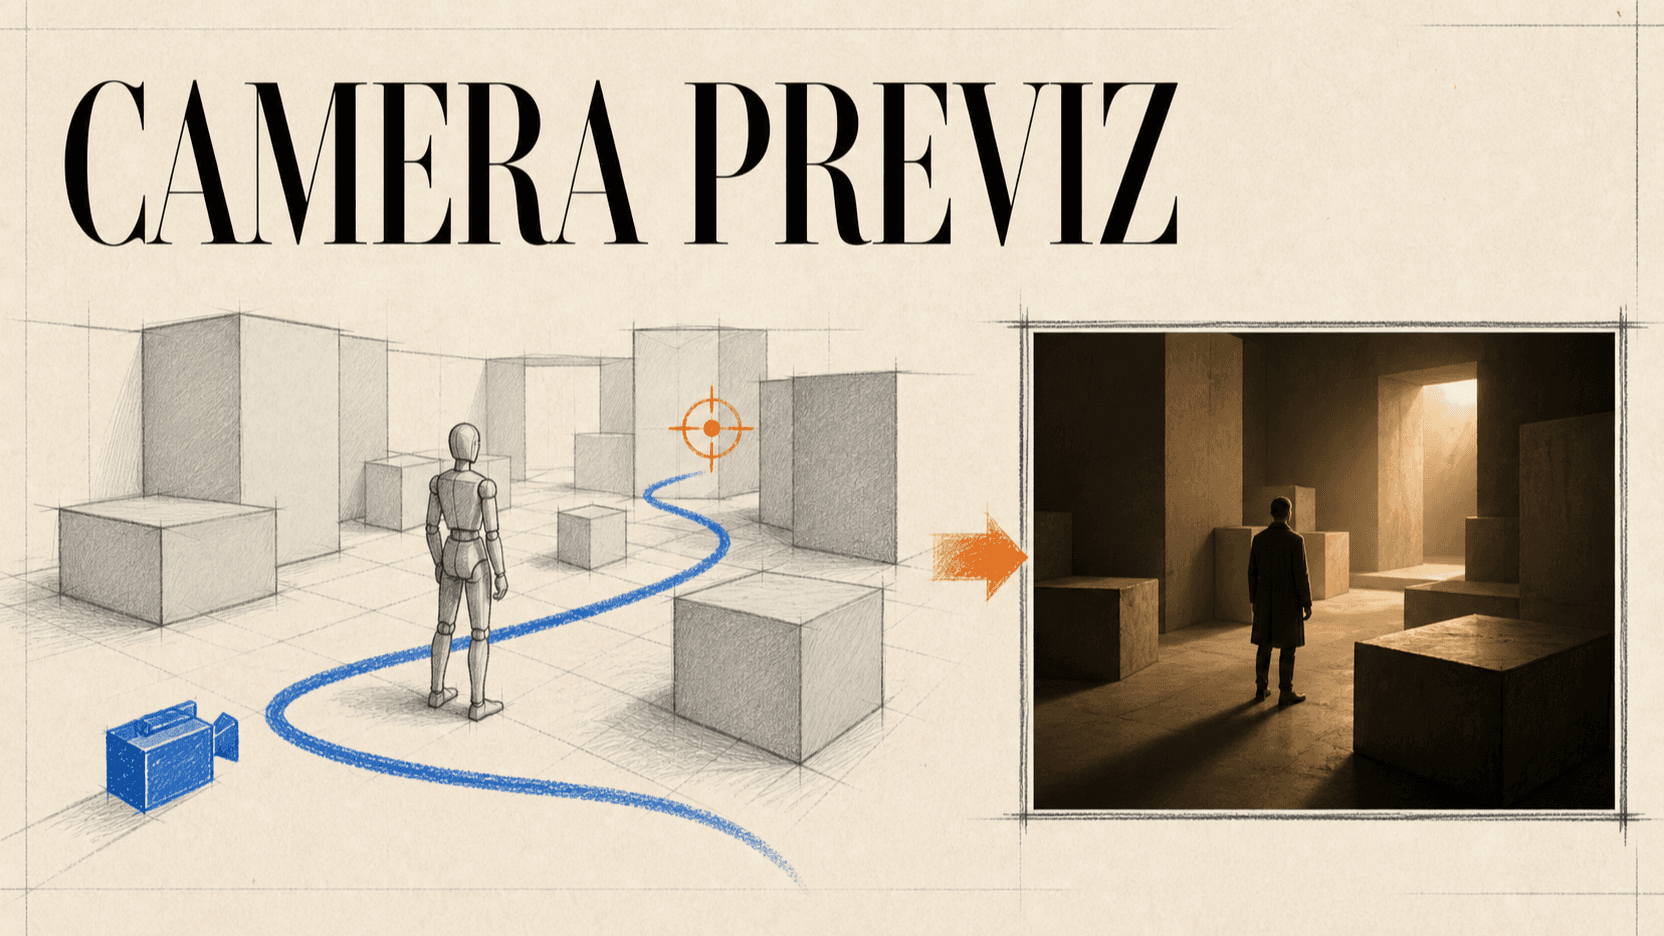
How to Control AI Video Camera Movement with Blender Previz
Build a simple Blender gray-box scene, animate a repeatable camera path, export a preview, and use it as motion guidance for AI video generation.
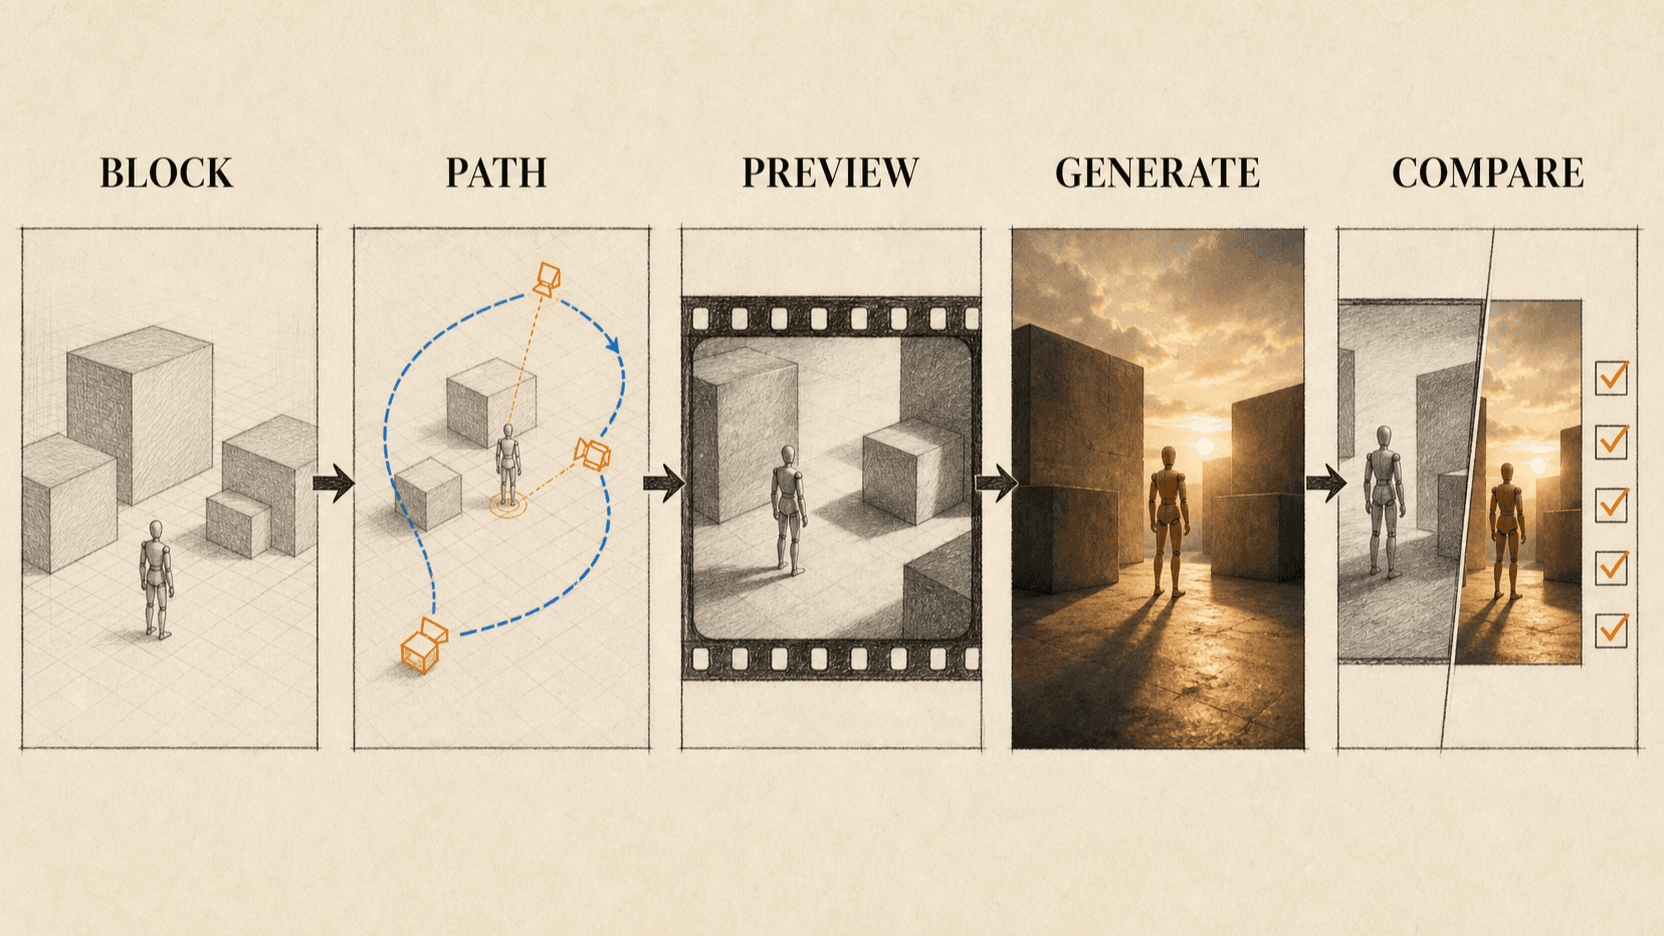
Blender camera previz gives an AI video model a visible path, spatial layout, and timing reference before generation begins. You build the scene from boxes, move a camera through it, export an intentionally rough preview, then ask the video model to preserve that choreography while replacing the gray geometry with the final world.
“Previz” means previsualization. It is not the finished 3D shot. A beginner can make a useful blockout without modeling, materials, rigging, or photorealistic rendering.
TL;DR
- Use cubes and simple figures to represent the set and subject.
- Match the final aspect ratio and choose a real delivery duration first.
- Animate one camera move with keyframes or a Follow Path constraint.
- Use a target object to keep framing stable when the camera travels.
- Export a fast viewport preview with clear depth and subject placement.
- Tell the video model to copy camera, blocking, and timing but ignore the gray materials.
- Review trajectory and contact before color, texture, or cinematic polish.
When Blender is worth using
Use Blender previz when the camera move must be repeatable or when text leaves too much room for interpretation. It is especially useful for:
- an orbit that stops on an exact angle;
- a reveal around foreground geometry;
- a crane or dolly move with several height changes;
- a subject moving through doorways or around obstacles;
- a sequence of shots that should share camera language;
- impossible virtual moves that are difficult to record physically.
For loose handheld work, a phone camera motion reference is faster. Blender earns its setup time when you want reusable geometry, controlled paths, and the ability to change one camera parameter without recording again.
What to install and prepare
You need:
- Blender from the official project;
- a mouse with a scroll wheel, if available;
- a written start frame and end frame;
- approximate scene dimensions;
- the final aspect ratio and shot duration;
- a still image that defines the final subject or style;
- a public HTTPS location for the exported preview when calling an API.
Do not begin by downloading complex assets. Simple geometry keeps the reference legible and avoids wasting time on details the video model will replace.
Step 1: Set the timeline and camera format
Open a new Blender scene. In Output Properties, set the resolution to a 16:9 size such as 1280 × 720 for a landscape preview. Set the frame rate to 24 or 30 fps and choose the final frame from the intended duration.
For example:
6 seconds × 24 fps = 144 framesUse a low preview resolution because the purpose is motion guidance. The final video model, not Blender, will produce the detailed image.
Step 2: Build the scene with gray boxes
Keep the default cube and resize it into a table, wall, or product stand. Add more cubes for doors, counters, foreground shapes, and obstacles. Use a simple cylinder or mannequin-like stack of primitives for the subject.
Three depth layers make the camera path easier to read:
- Foreground: an object the camera passes or reveals around.
- Midground: the subject or product.
- Background: a wall, doorway, or large object that shows parallax.
Give major categories different flat colors if the gray scene becomes hard to read. Keep the subject one color and the environment another. Avoid detailed textures and reflective materials.
Step 3: Place the camera and save the starting composition
Add or select the camera. Use Numpad 0 to enter camera view. If you do not have
a number pad, use View → Cameras → Active Camera.
Choose the start composition before animating:
- Is the subject the correct size in frame?
- Is the foreground object visible enough to create a reveal?
- Is there room in the direction of movement?
- Is the camera height plausible for the intended shot?
- Does the horizon match the mood?
Set the camera focal length in Camera Properties. Do not animate focal length yet. A fixed lens makes it easier to understand whether the motion comes from camera travel or zoom.
Step 4: Animate the simplest useful path
There are two beginner methods.
Method A: two or three camera keyframes
At frame 1, position the camera and insert a location and rotation keyframe with
I. Move to the final frame, reposition the camera, and insert another keyframe.
Add a middle keyframe only when the path needs a deliberate bend or height
change.
Open the Graph Editor and use smooth interpolation when you want gradual starts and stops. Use linear interpolation when the camera should travel at a constant speed.
Method B: a Follow Path constraint
Add a Bézier curve and shape it into the travel path. Select the camera, add a Follow Path constraint, and choose the curve as the target. Blender's manual describes Follow Path as a constraint that places an object on a curve and can orient it along the curve's bends.[1]
This method is useful when the move arcs around a subject. It also makes the path visible and reusable. Keep the curve simple: too many control points create small speed and direction changes that the final model may exaggerate.
Step 5: Add a target for stable framing
A camera can follow a good path and still point in the wrong direction. Add an Empty at the subject's chest or product center, then use a Track To or Locked Track constraint so the camera continues to face that target.
The target may move if the subject moves. Animate the Empty with the subject rather than changing camera rotation on every frame. This separation gives you two independent controls:
- the curve or location keyframes control where the camera travels;
- the target controls what it looks at.
For a reveal, target the subject from the start even while the foreground object occludes it. For a planned reframing, animate the target from one object to another gradually.
Step 6: Add subject motion only when necessary
If the shot tests camera movement, keep the subject still. Add subject motion only when camera and subject interaction is essential—for example, following a person through a doorway.
Represent walking with a sliding block or simple mannequin. The preview does not need a walk cycle. It only needs to communicate location, speed, direction, and contact with the floor.
Use clear constraints:
Subject begins at X marker.
Subject walks left to right from frames 30-110.
Camera begins moving at frame 1 and stops at frame 132.
Subject reaches the doorway before the camera crosses the foreground pillar.
Frames 132-144 are a stable end hold.
Step 7: Preview and simplify
Play the timeline in camera view. Watch at normal speed and answer:
- Does the move communicate one clear idea?
- Does the subject stay framed?
- Does the camera collide with geometry?
- Is the speed readable rather than frantic?
- Does the final hold last long enough for an edit?
If the path feels wrong in gray boxes, generation will not fix it. Simplify the curve, move the target, or adjust timing before exporting.
Step 8: Export a fast reference video
Use Blender's viewport render or a low-quality Eevee render. The preview should show clean silhouettes, depth, and camera movement. It does not need shadows or materials.
Export an MP4 at the same aspect ratio as the intended result. Confirm that it begins and ends on stable frames. Then upload it to a location the video API can read over HTTPS.
Step 9: Tell the AI model what the previz controls
Pair the preview with a final look image and assign roles explicitly.
Video 1 is a gray-box camera and blocking reference. Match its camera path,
timing, subject position, foreground reveal, scale changes, and ending hold.
Ignore its materials, colors, primitive shapes, and lack of detail.

Image 1 defines the final character, wardrobe, lighting, and cinematic style.
Replace the gray-box environment with a small live-music room while preserving
the same spatial layout. Keep the subject centered after the reveal. No cuts,
no digital zoom, no additional people, and no camera path changes.
ByteDance describes multimodal video references as control for composition, camera language, and motion rhythm, which is the reason the blockout can remain visually crude.[2]
curl https://reapi.ai/api/v1/videos/generations \
  -H "Authorization: Bearer YOUR_API_KEY" \
  -H "Content-Type: application/json" \
  -d '{
    "model": "doubao-seedance-2.5-face",
    "prompt": "Video 1 is gray-box camera and blocking guidance. Match path, timing, spatial layout, reveal, and ending hold. Ignore primitive appearance. Image 1 defines the performer, room style, and lighting. No cuts or digital zoom.",
    "video_urls": ["https://example.com/blender-previs.mp4"],
    "image_urls": ["https://example.com/final-look.jpg"],
    "resolution": "720p",
    "size": "16:9",
    "duration": 6,
    "generate_audio": false
  }'
Check the Seedance 2.5 API documentation for current input limits, task behavior, and rates before production use.
Step 10: Compare the generated shot with the blockout
Review both clips side by side at the same speed.
| Element | Accept when | Repair when |
|---|---|---|
| Camera path | Direction and arc match | Camera shortcuts or reverses |
| Timing | Reveal and stop occur at intended moments | Move starts or ends too early |
| Framing | Subject stays in planned region | Target drifts or leaves frame |
| Spatial layout | Foreground, subject, background keep their relationship | Geometry collapses or swaps depth |
| Contact | Subject remains grounded and avoids obstacles | Feet slide or body crosses objects |
| End state | Final composition holds cleanly | Camera continues moving through cut point |
If the camera path fails, revise the blockout or reduce its complexity. If the look fails, keep the approved blockout and change the style reference. This is the practical benefit of previz: movement and appearance no longer have to be debugged in the same artifact.
Common beginner mistakes
Building a detailed set before testing the camera
Detail hides the real question. Start with boxes, approve the path, and only add geometry when it changes occlusion or navigation.
Using too many path control points
Each point can introduce a turn or speed change. Use the minimum needed to describe the path.
Animating path, target, lens, and subject at once
You cannot tell which layer caused the failure. Lock the lens, test the camera, then add subject or target changes.
Exporting without an end hold
The generated shot may continue moving until the last frame. Add a deliberate hold in the preview and repeat it in the prompt.
Treating previz as a native Blender integration
The video model receives a rendered reference clip, not the .blend scene or
its constraints. Blender creates the instruction layer; the model interprets
the rendered result.
FAQ
Do I need to know Blender animation?
Only basic object movement, camera view, keyframes, and optionally a Follow Path constraint. You can ignore character rigging and final rendering.
Should the blockout use realistic materials?
No. Flat colors and clear silhouettes are usually easier to interpret and faster to change.
Can an AI agent operate Blender for this workflow?
Yes, tools can automate scene construction and parameter changes, but beginners should understand the path, target, timing, and export steps first. Automation does not remove the need to inspect the preview.
Is a camera path deterministic after generation?
No. It is a strong visual reference, not an exported animation curve inside the video model. Expect interpretation and review the result.
When should I use phone recording instead?
Use a phone when natural handheld feel matters and the move can be performed in physical space. Use Blender when the path must be reusable, impossible to film, or coordinated with virtual geometry.
Conclusion
Blender camera previz turns camera direction into an asset you can see, edit, and reuse. Build only the geometry that affects space, separate travel from targeting, export a clear low-detail preview, and tell the AI model exactly what that clip controls. The final output remains generative, but the camera no longer starts from a paragraph and a guess.
References
- Blender Foundation. Follow Path Constraint — Blender Manual. Retrieved August 27, 2026. docs.blender.org
- ByteDance Seed. Seedance 2.0 Official Launch. February 12, 2026. seed.bytedance.com
- reAPI. Seedance 2.5 API — Parameters, Modes & Billing. Retrieved August 27, 2026. reapi.ai
Author

Categories
More Posts

Best-Value Seedance 2.0 API in 2026: Prices Compared
A matched Seedance 2.0 API price comparison across reAPI, Atlas, Replicate, fal, and WaveSpeed, including billing rules and best-value picks.
Wan 3.0 ComfyUI: API Workflows and Setup Requirements
Set up Wan 3.0 ComfyUI with official templates or a custom reAPI adapter. Compare account requirements, media inputs, task polling and dated cost estimates.
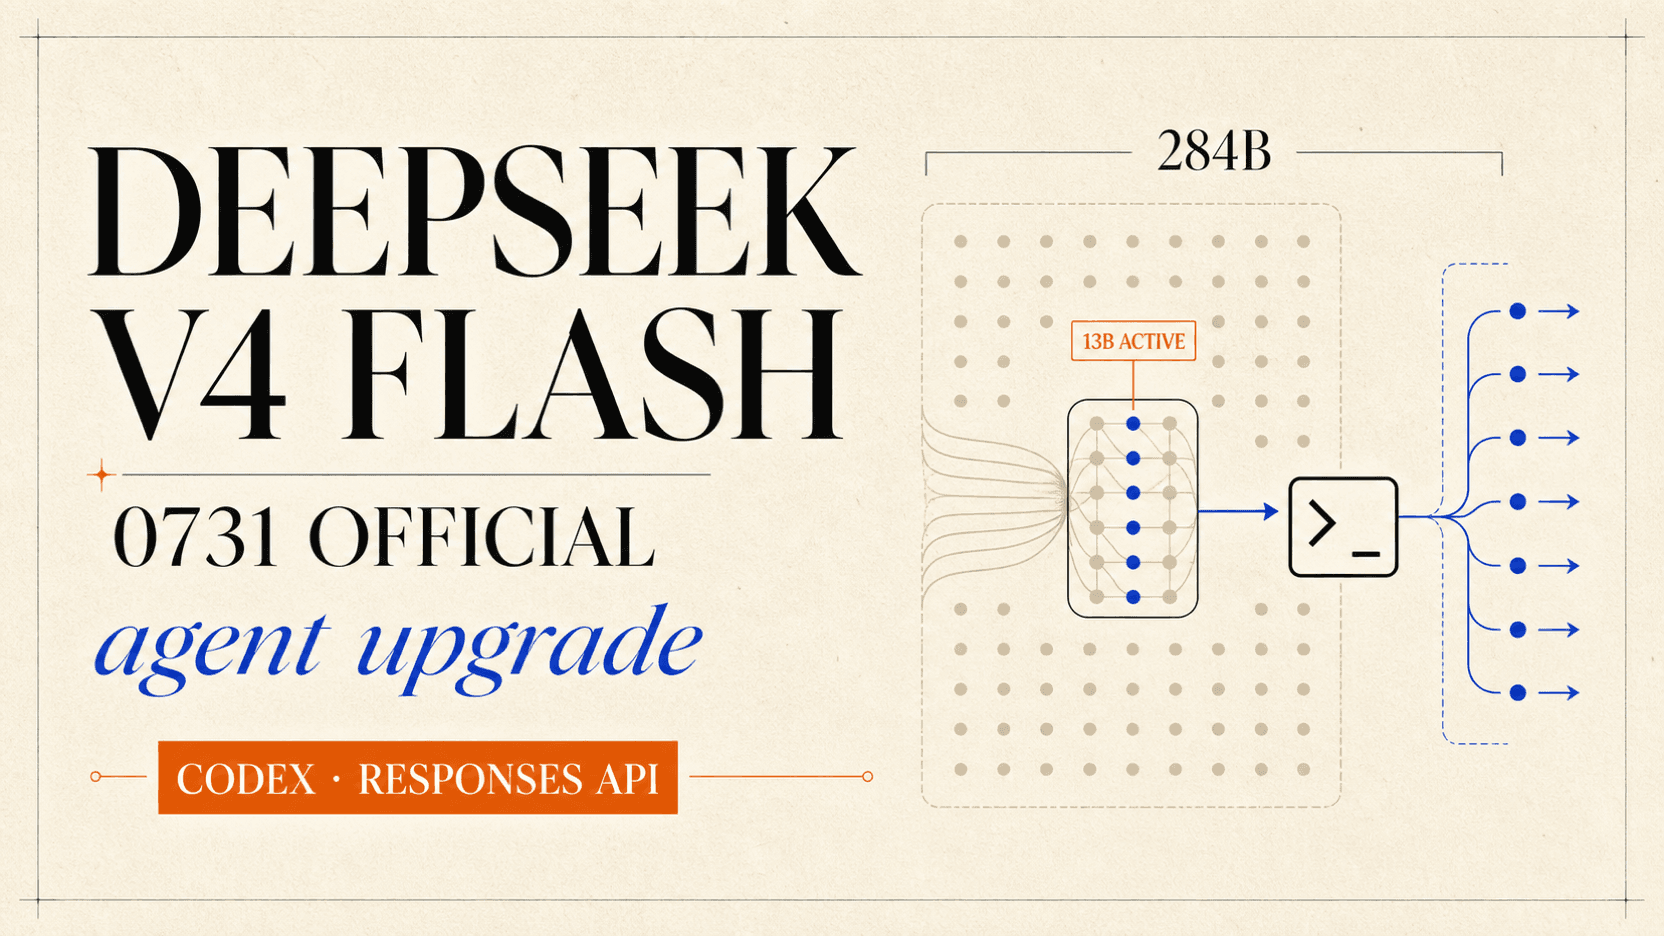
DeepSeek V4 Flash Official Release: 0731 Agent and Codex Upgrades
DeepSeek V4 Flash 0731 is live in API public beta with stronger agent benchmarks, native Responses API support, Codex integration, and the same model ID today.